How to Print and Assemble the Box V4.2–V4.3: Orientation, Screws, and Adjustment
001
002
003
004
005
A well-designed enclosure can fail in two very specific stages: poor print orientation or rushed assembly. The V4.2–V4.3 box may not look especially complex, but to achieve a solid, clean, and functional result, it’s important to follow a clear process.
This guide organizes everything into a more practical workflow: how to orient the print, what settings to use, how to assemble each part, and what to check before finishing.
Before printing: what really matters
The goal is not just to “get a print.” The priority is that:
- walls are strong;
- the body keeps its shape;
- screws hold properly in plastic;
- small parts fit with the correct pressure.
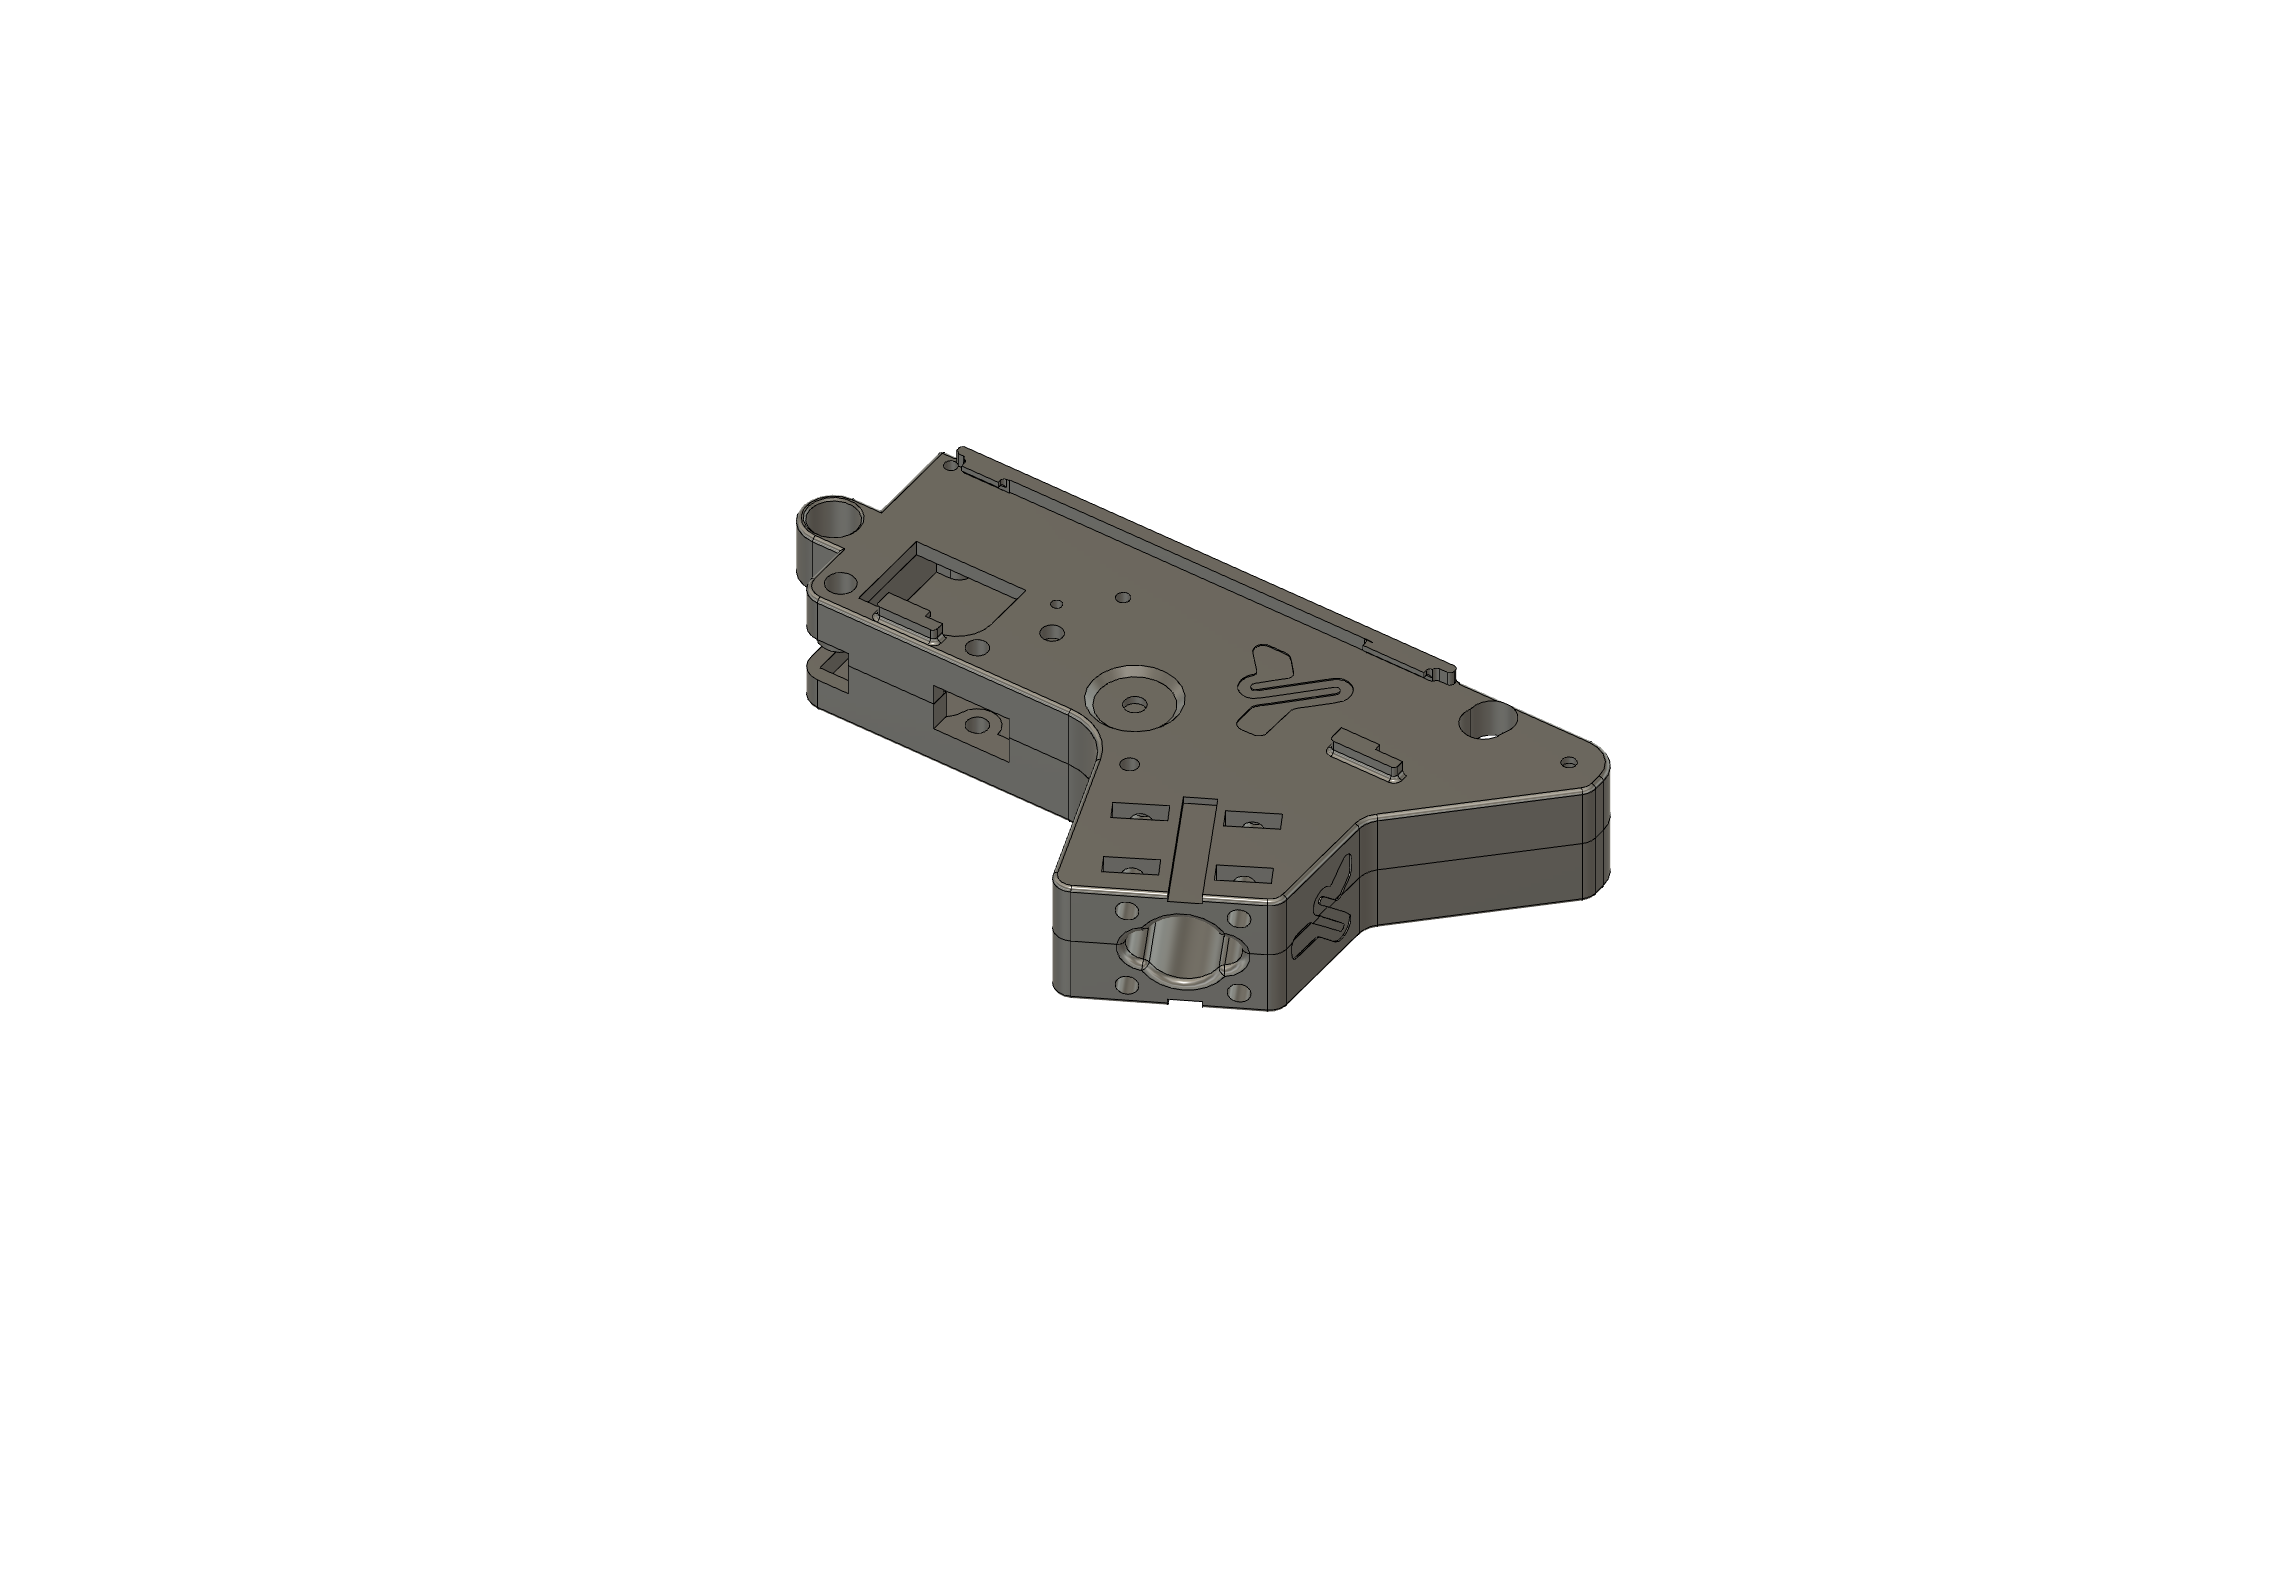
Correct print orientation
001
The recommended orientation is very clear:
- flat face on the print bed
- walls facing upward
This provides a stable base, simplifies printing, and ensures the walls are oriented in a direction that improves overall strength.
Recommended print settings
According to the original reference:
- layer height: 0.20 mm
- infill: 50% to 70%
- orientation: flat face down
Practical recommendation
If you want reliability, stay in the middle of the infill range. In parts like this, good orientation and enough walls usually matter more than pushing infill to the maximum.
Main box assembly
The enclosure is assembled using self-tapping screws, which thread directly into the plastic. This simplifies assembly because no metal inserts are required for this part.
002
Good practices when screwing
- dry-fit all parts before tightening
- start threads carefully to avoid cross-threading
- tighten progressively
- avoid over-torque to prevent stripping the plastic
In FDM prints, a properly installed self-tapping screw holds very well. An over-tightened one destroys the thread quickly.
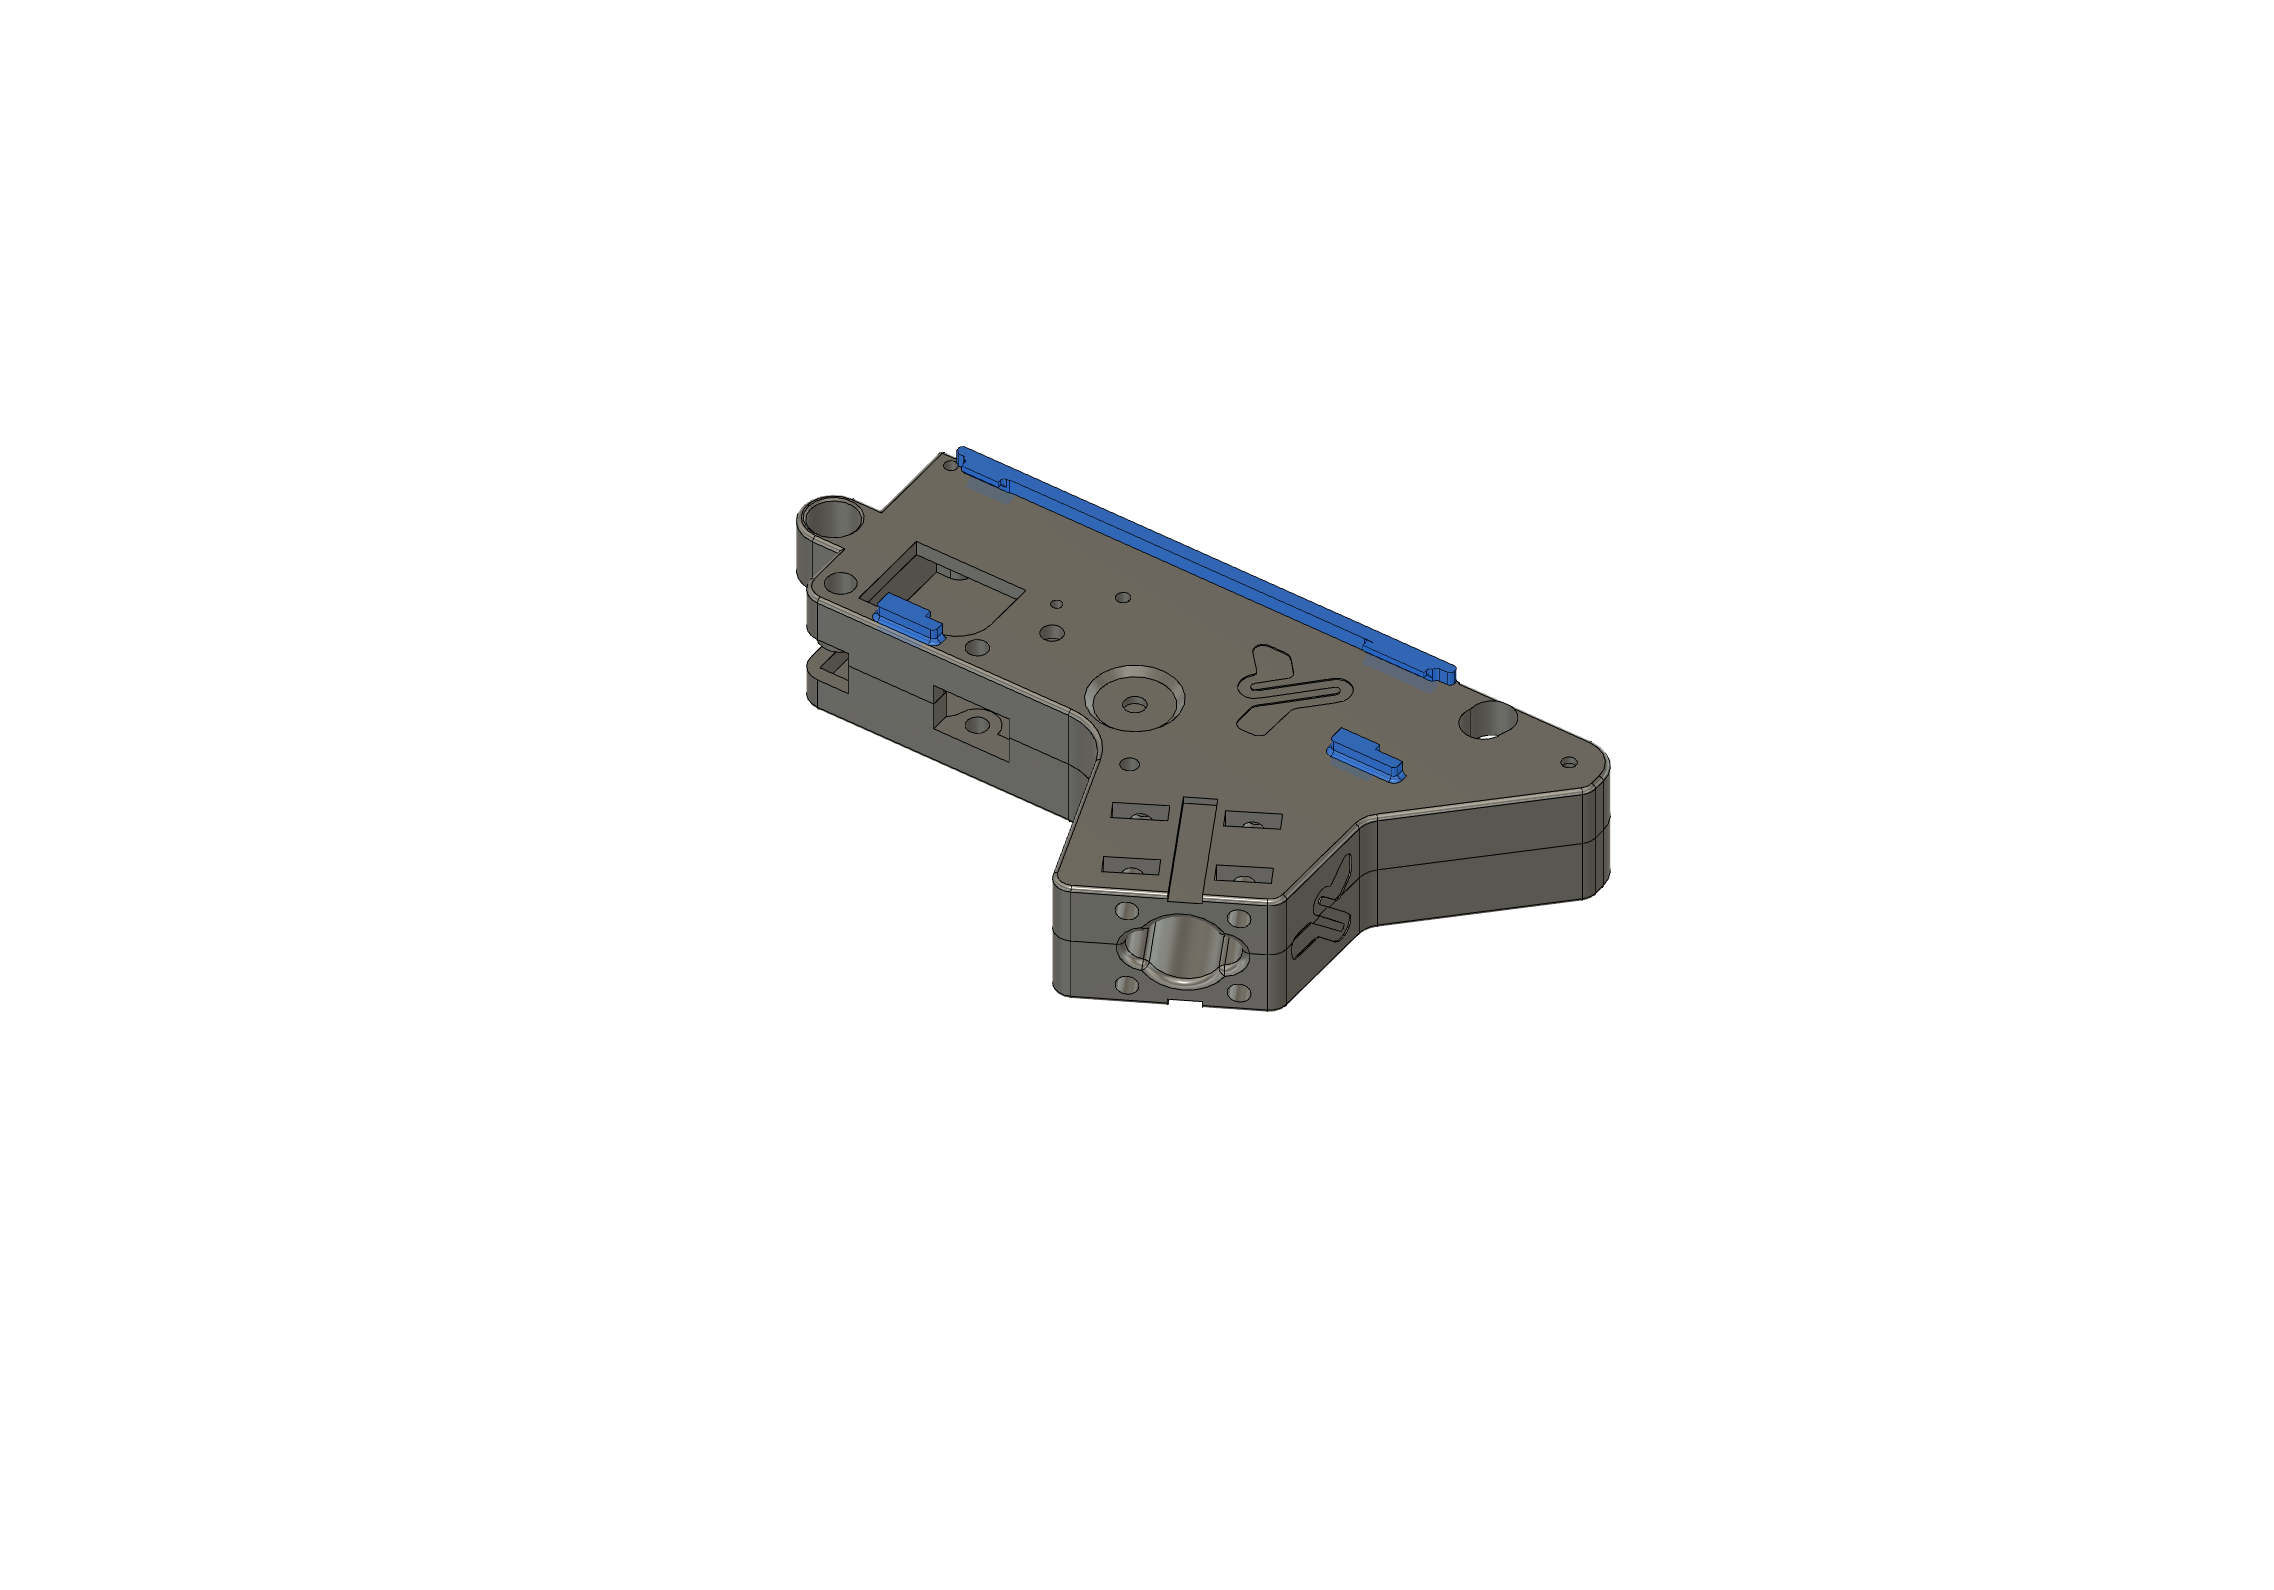
Installing small parts
Small parts are press-fit into the replica body. In most cases, this is enough to keep them in place through pressure alone.
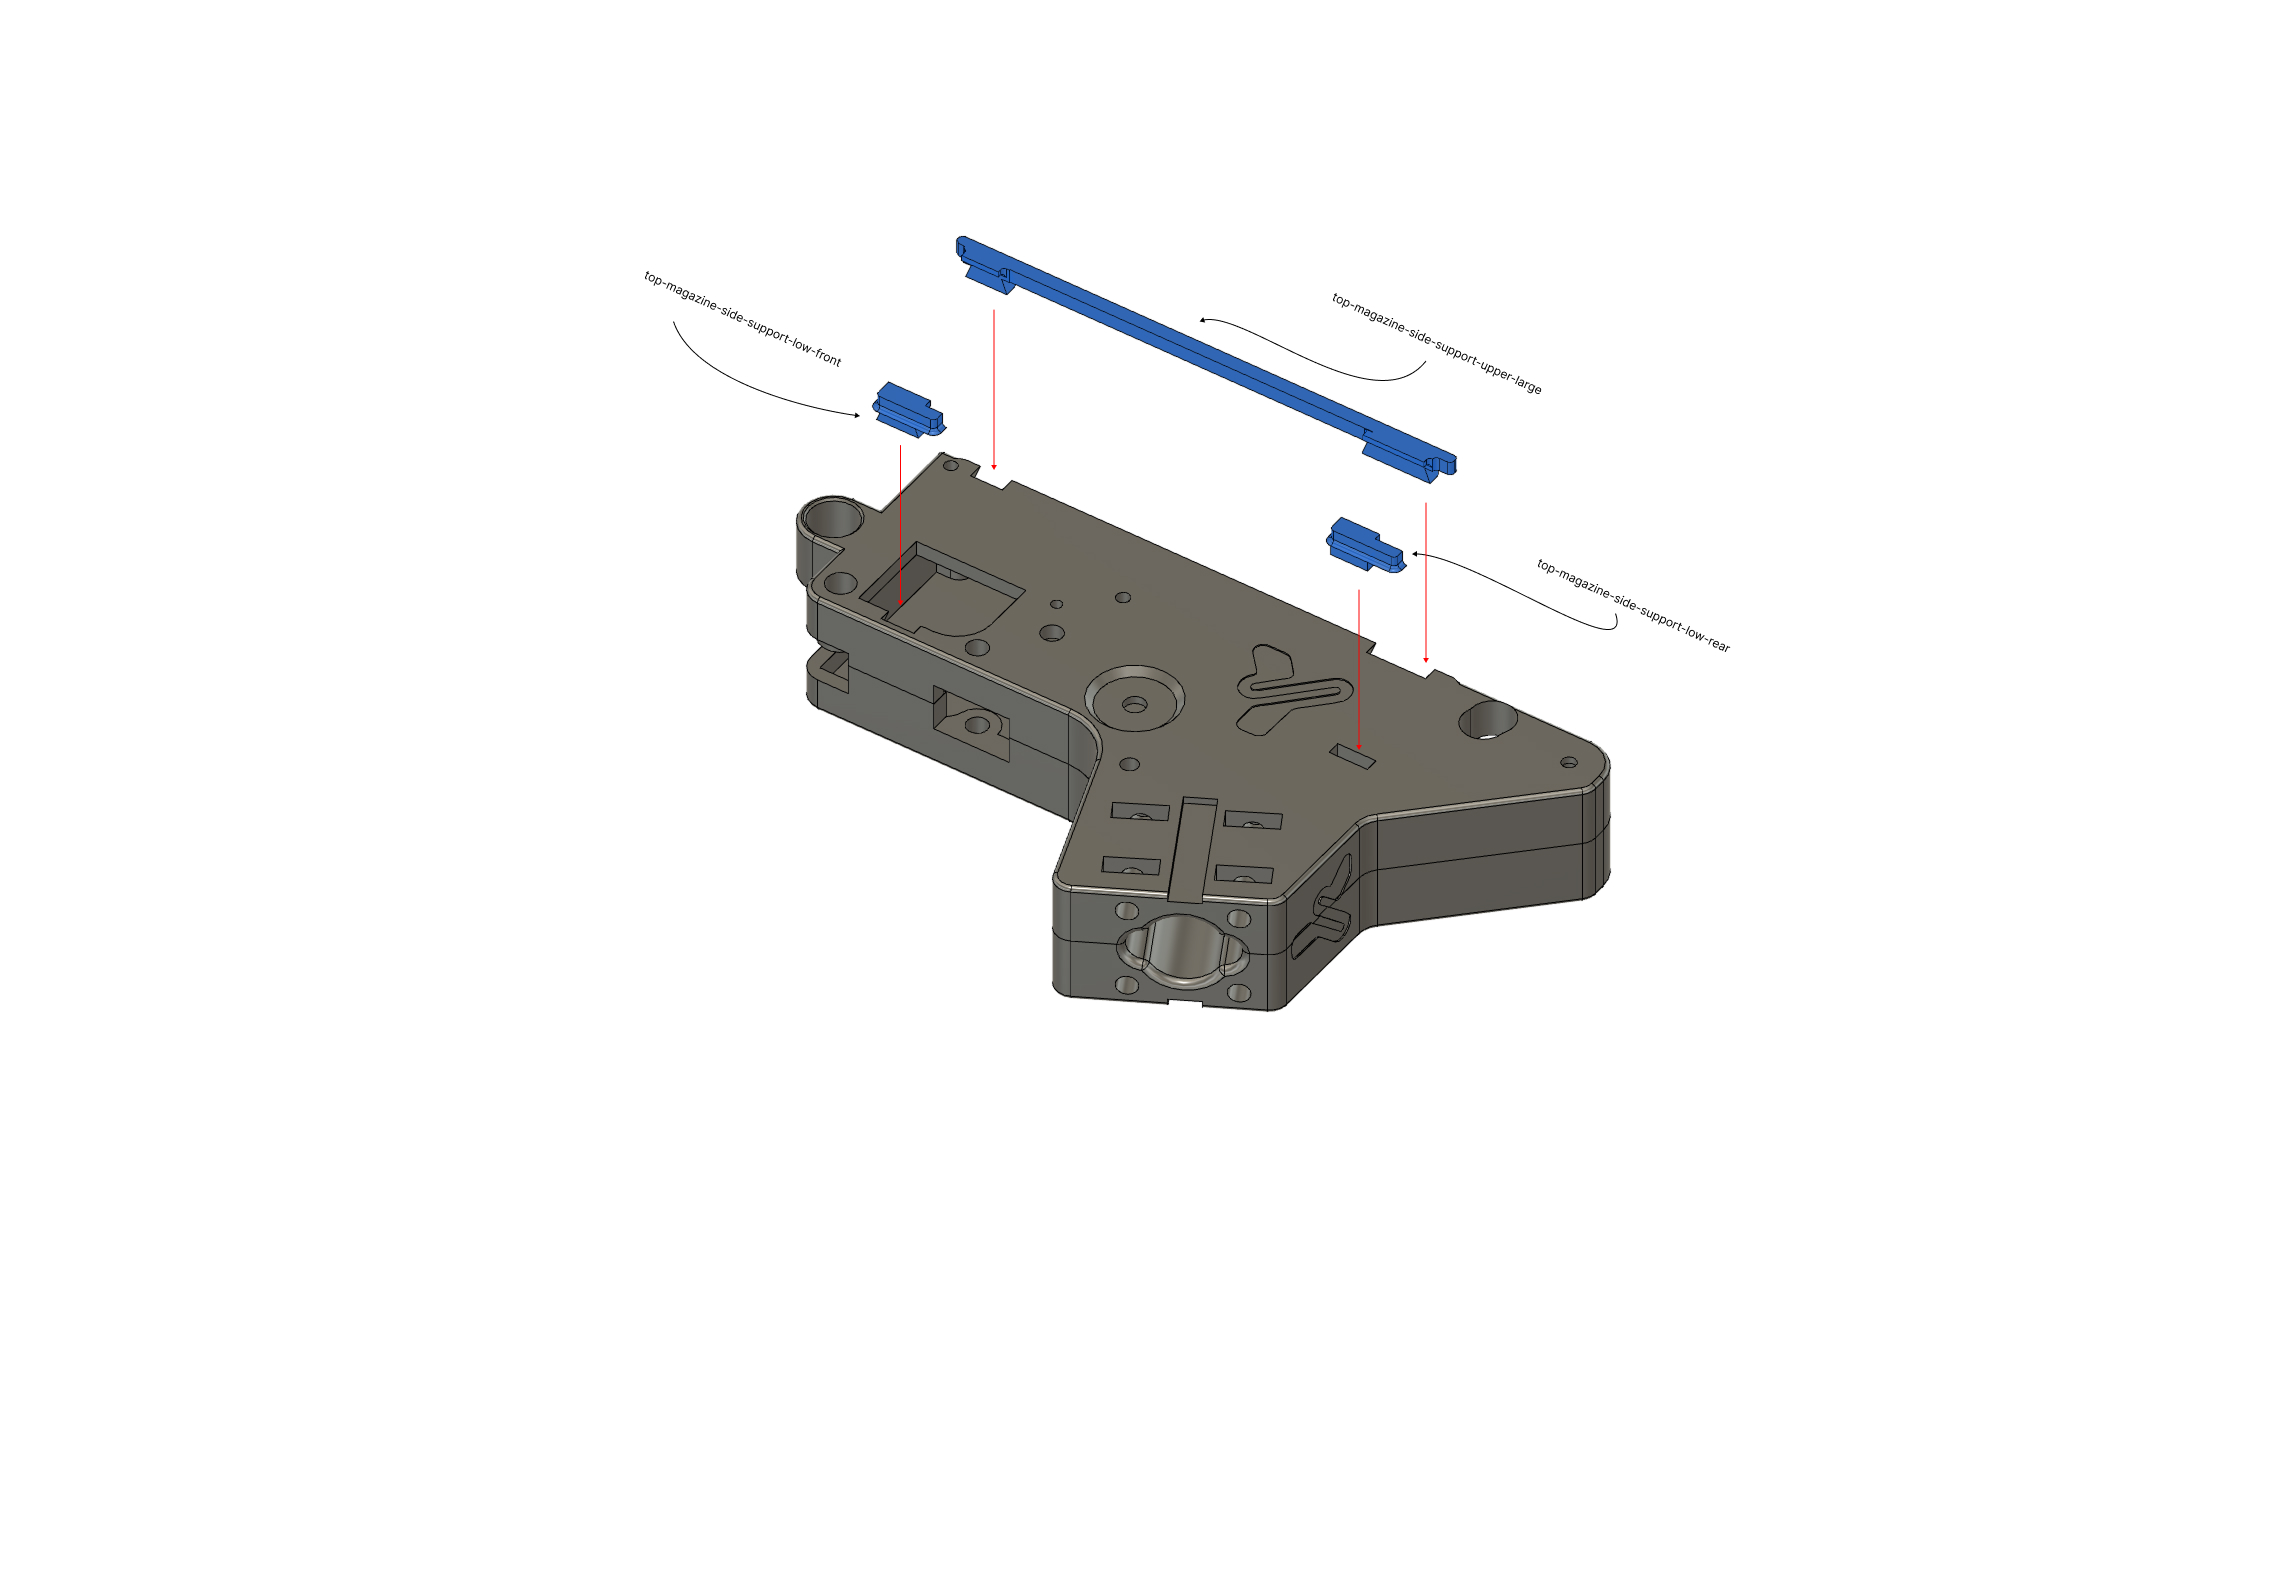
003
If the fit feels loose
You can use a small amount of cyanoacrylate, but sparingly. The goal is to assist the fit, not make future disassembly impossible.
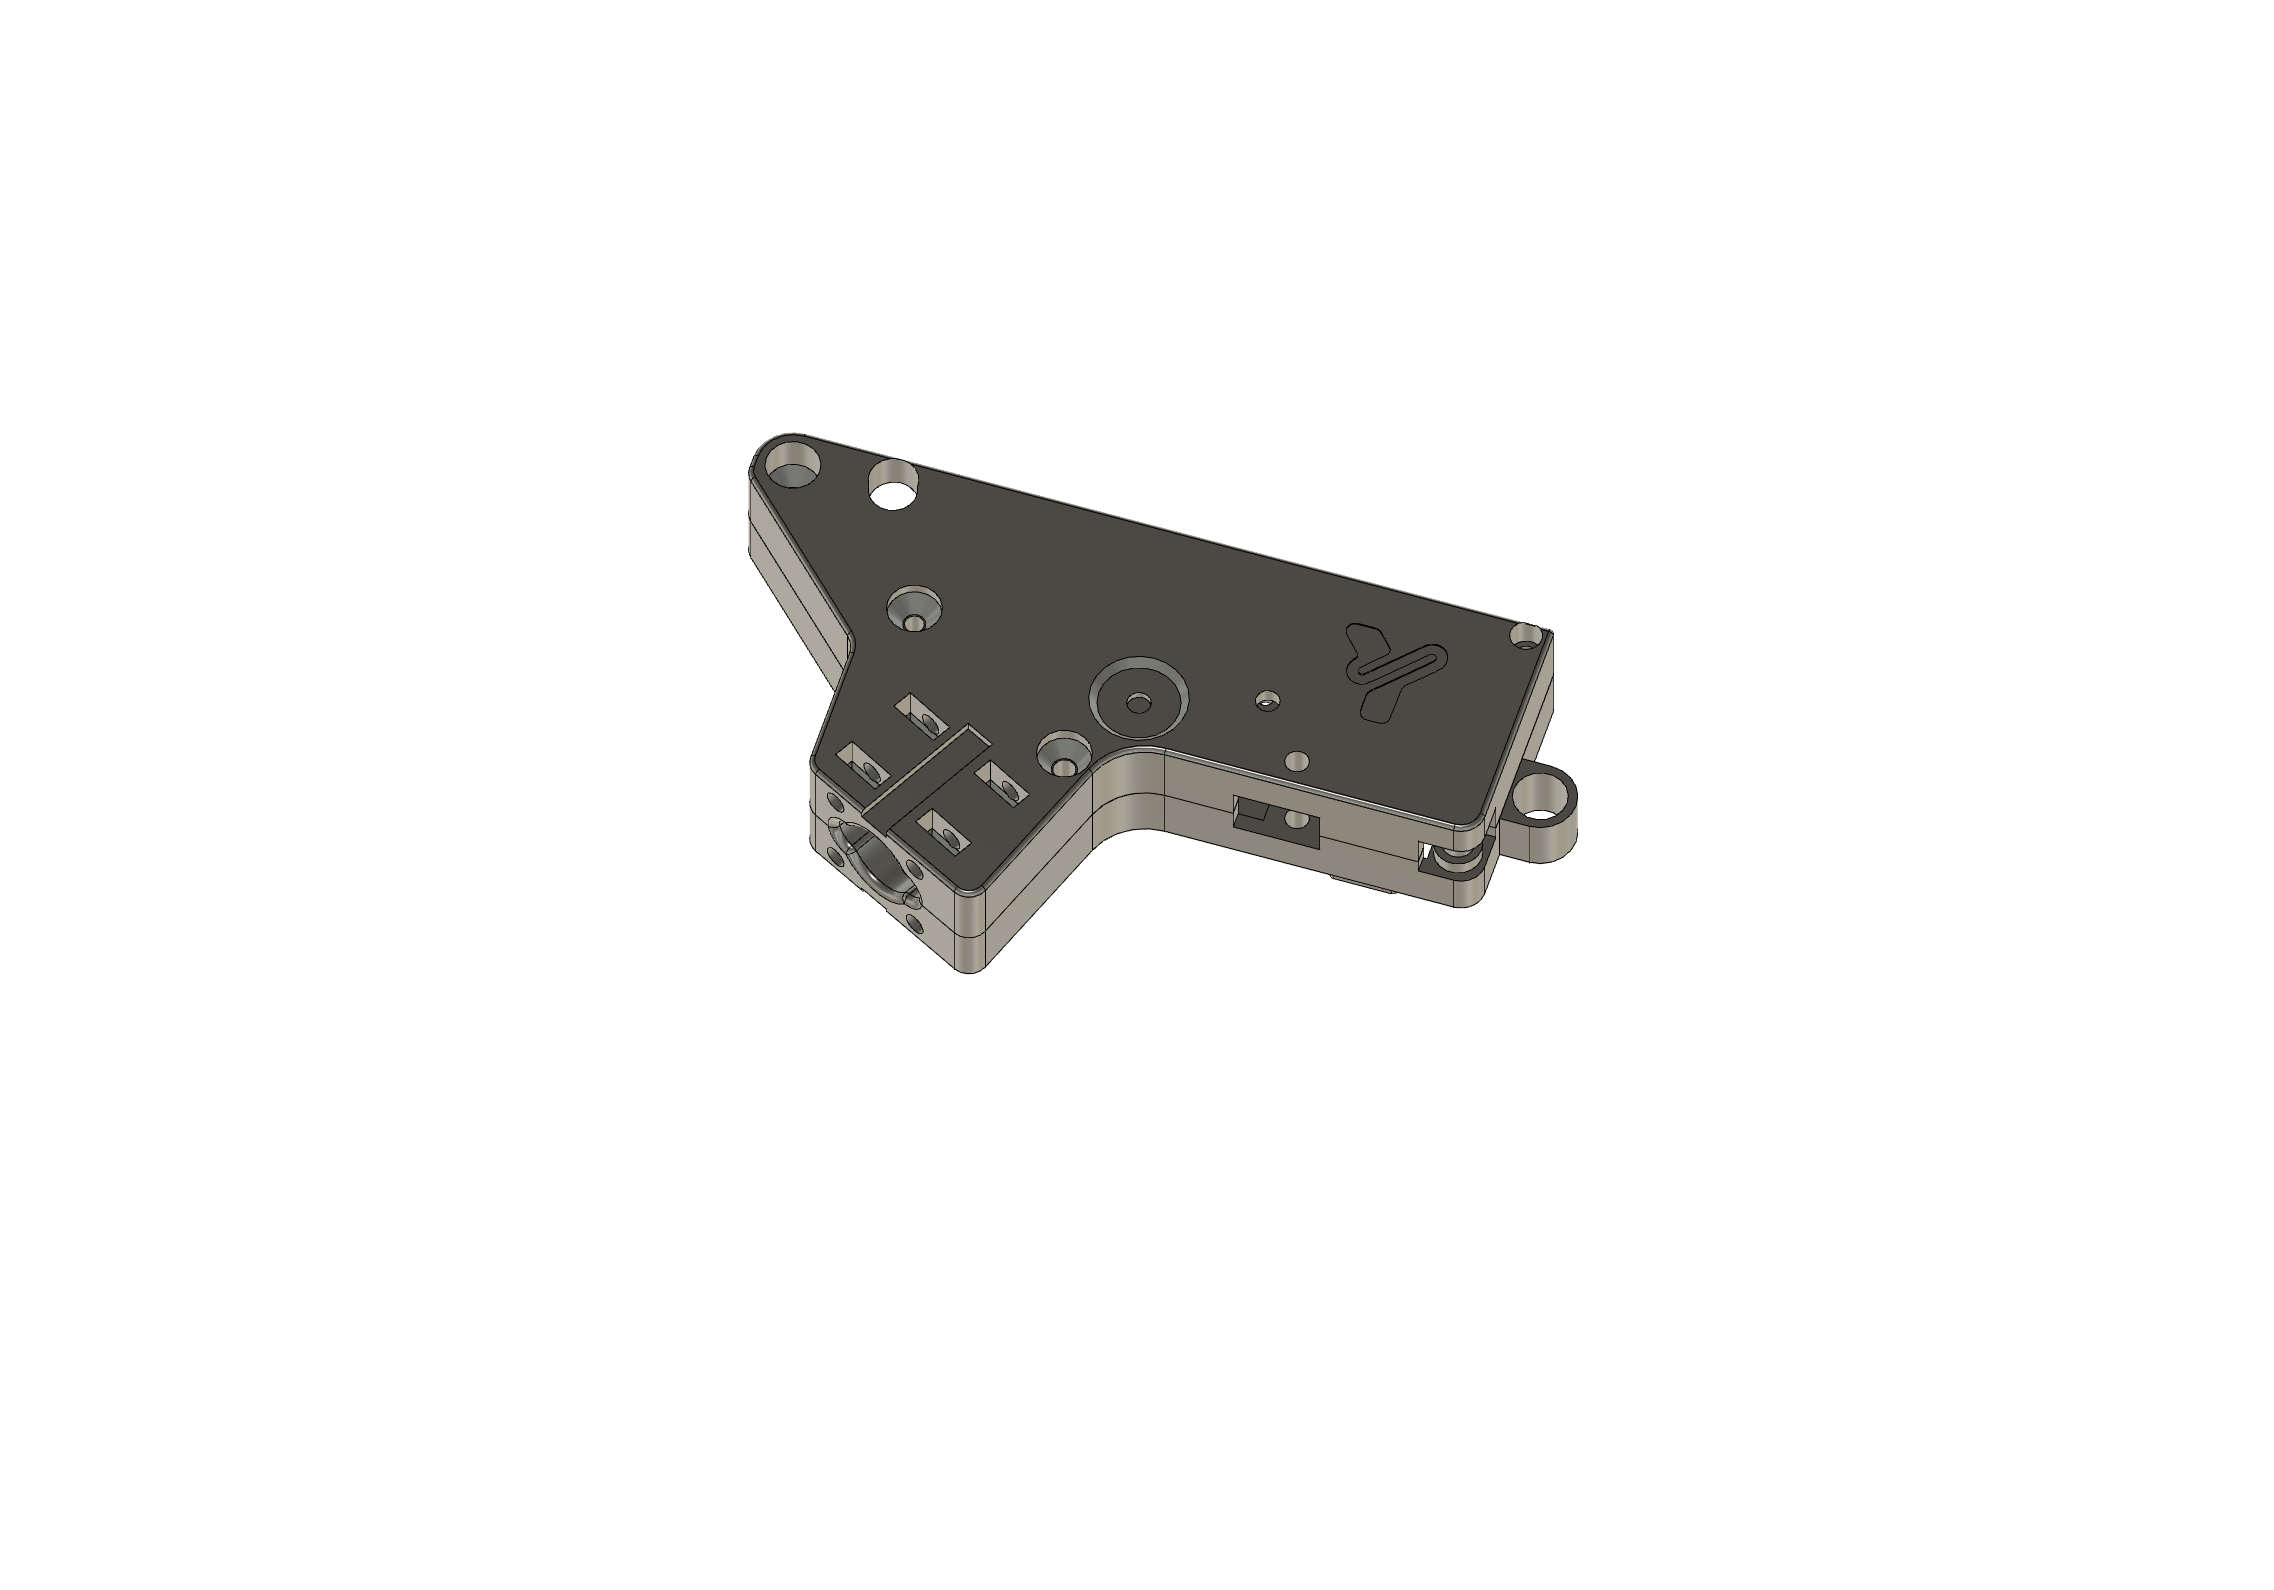
Knob / selector
The knob is mounted using 3D printed flat nuts, inserted into position and tightened like a standard handle.
This changes the assembly logic slightly: instead of a metal nut, you’re working with a component designed to integrate with the printed part. Make sure the nut is properly seated before tightening.
004
Recommended assembly order
- print all parts and remove burrs
- dry-fit the main body
- assemble the box with self-tapping screws
- press-fit the small parts
- install the selector/knob
- check alignment, play, and final tightening
005
Common mistakes
Tightening too early
If you fully tighten one area before aligning the rest, you may introduce unnecessary stress.
Stripping threads in plastic
Printed material doesn’t tolerate excessive force. Tighten until seated, no more.
Using glue unnecessarily
A proper press-fit is usually enough. Over-gluing complicates maintenance.
Ignoring burrs
A small imperfection can make a good design seem faulty.
Quick troubleshooting
Part doesn’t seat properly
Check print orientation, warping, and burrs on contact surfaces.
Screws don’t grip well
Check if holes were enlarged by previous attempts or printing issues.
Selector feels stiff or off
Check seating of printed nuts and ensure no uneven pressure from assembly.
Quick FAQ
Do I need metal threaded inserts?
No — this design is intended for self-tapping screws directly into plastic.
Can I glue small parts?
Yes, but only if necessary. If press-fit works, avoid glue.
What orientation should I always use?
Flat face on the bed, walls upward.
Is there external hardware reference?
Yes, the original guide links to AliExpress, but ideally include exact specs when publishing.
Final note
The V4.2–V4.3 box doesn’t require special tricks — just clean printing, correct orientation, and careful assembly. If you follow those three points, the result should be solid and functional without needing extra workarounds.