How to Orient Your Models When Printing: A Guide to Engine and Hop-Up Clips
001
002
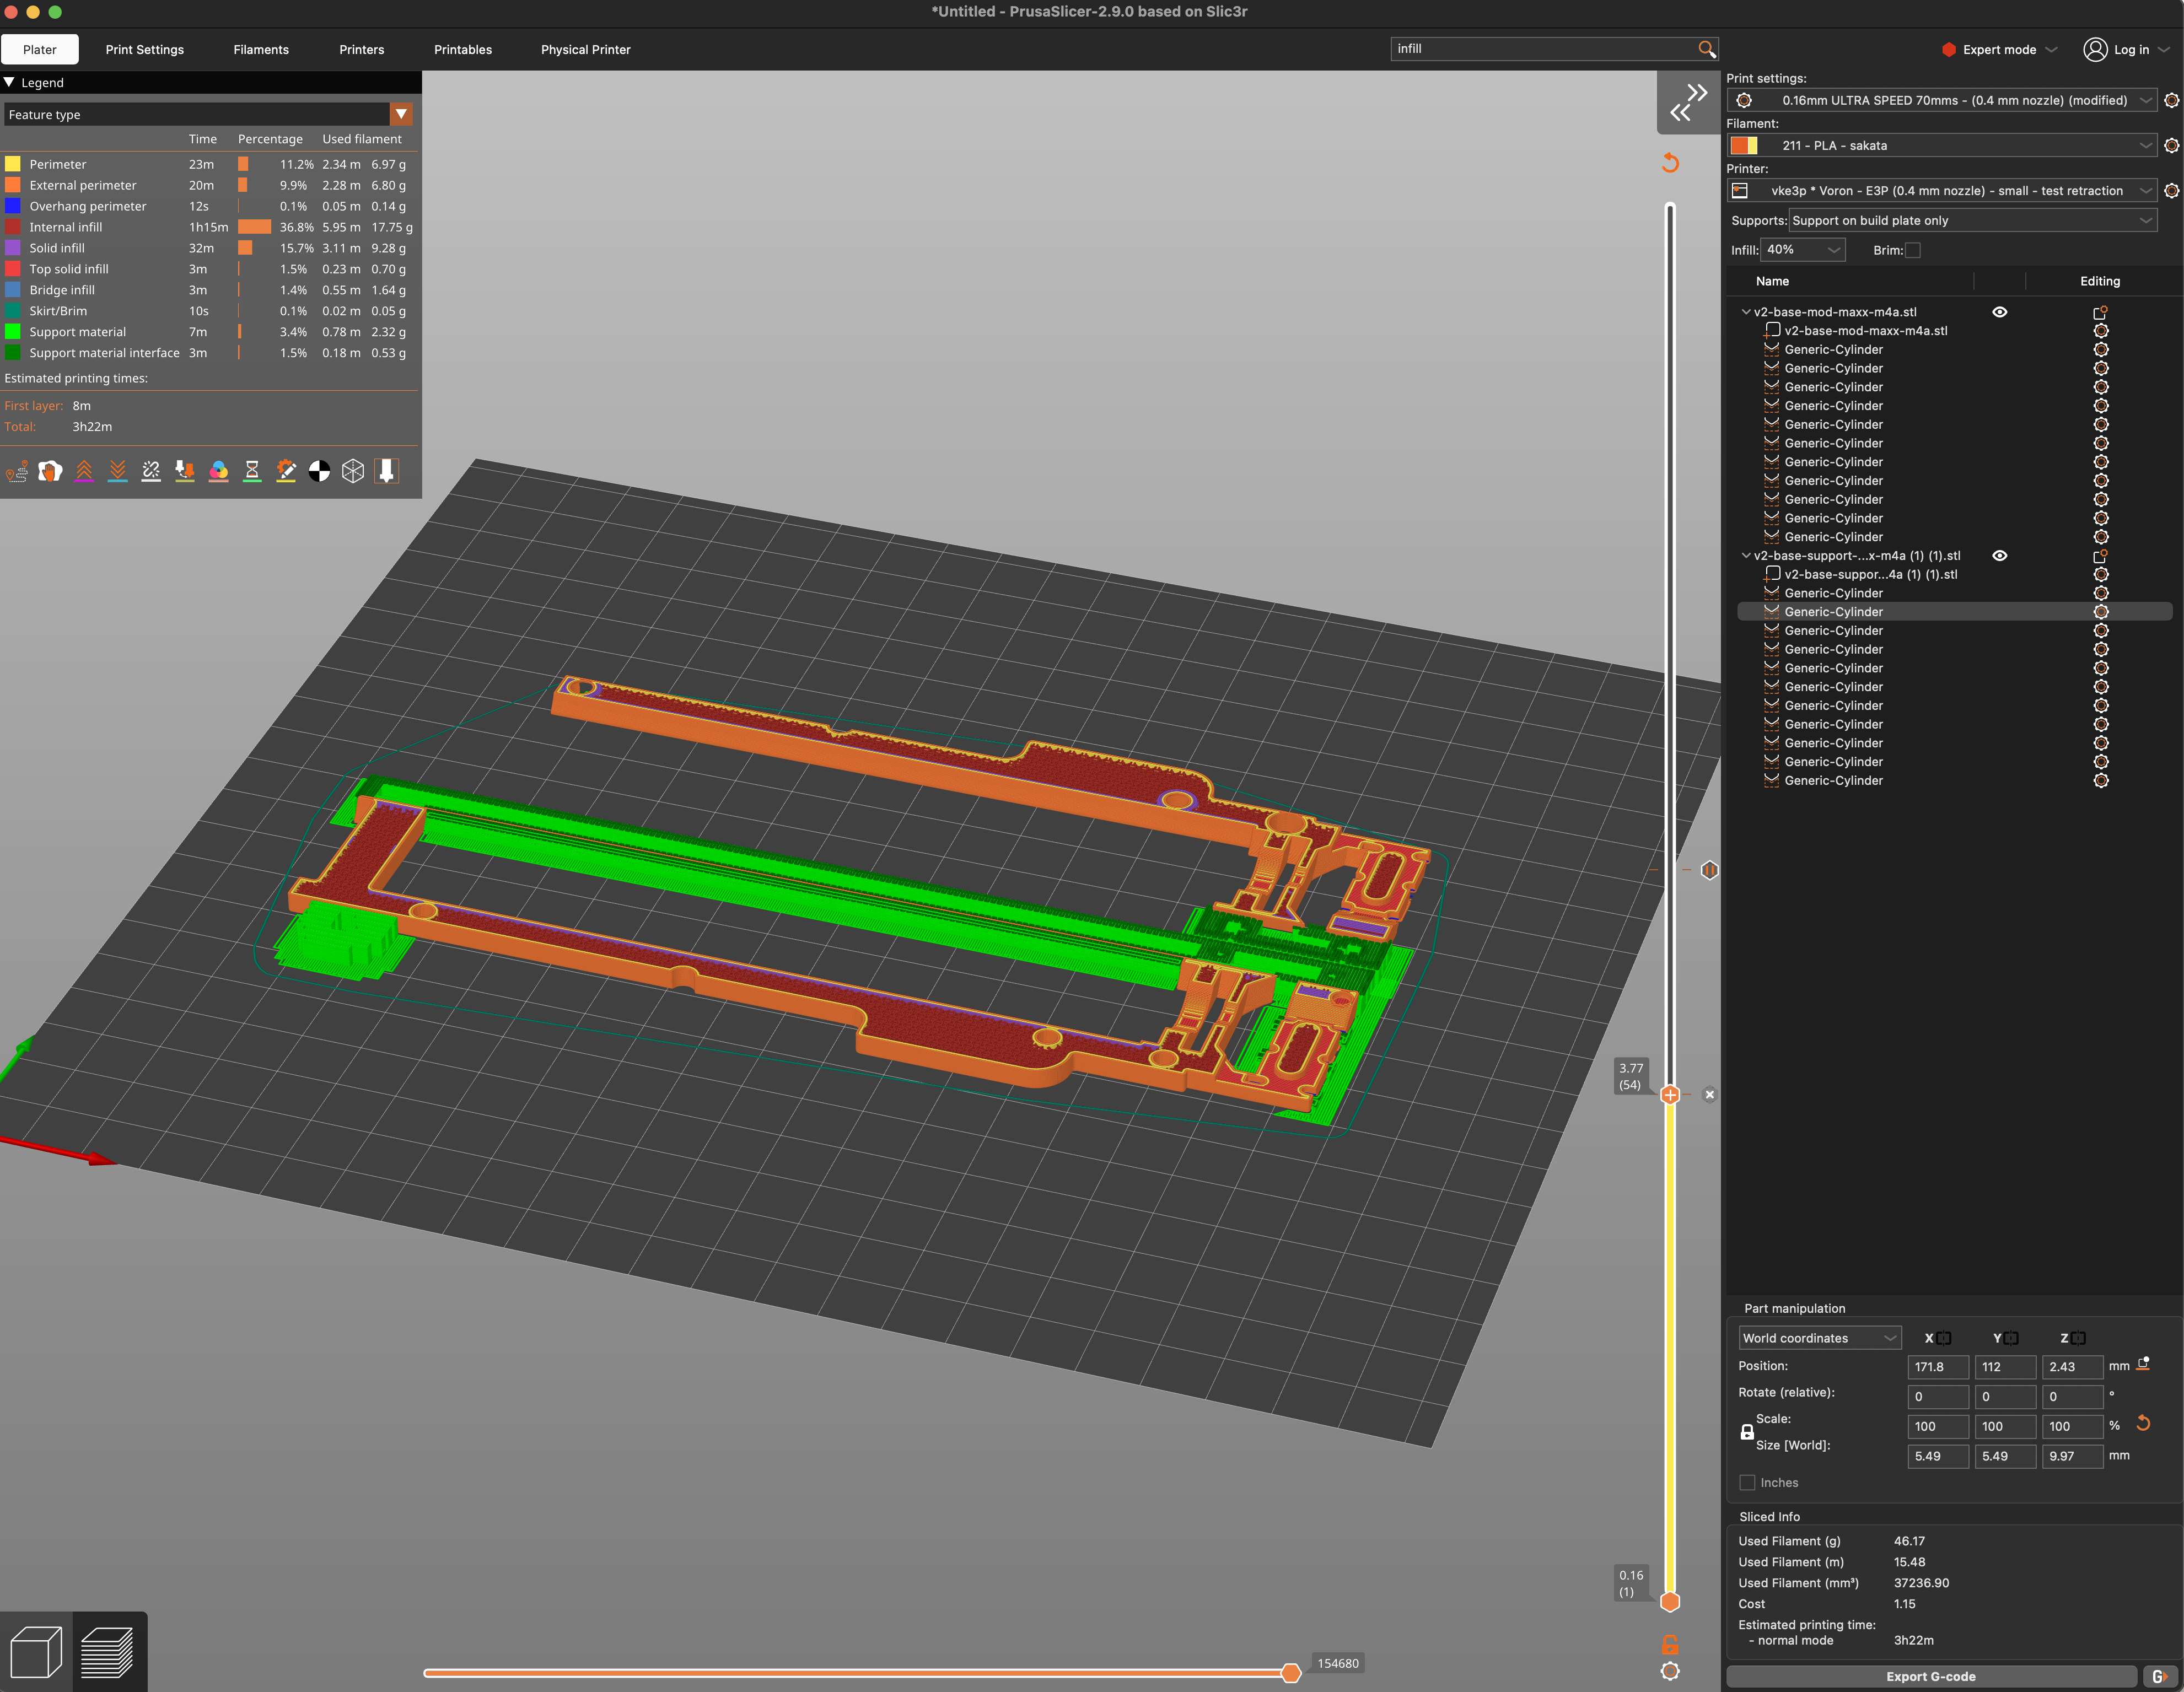
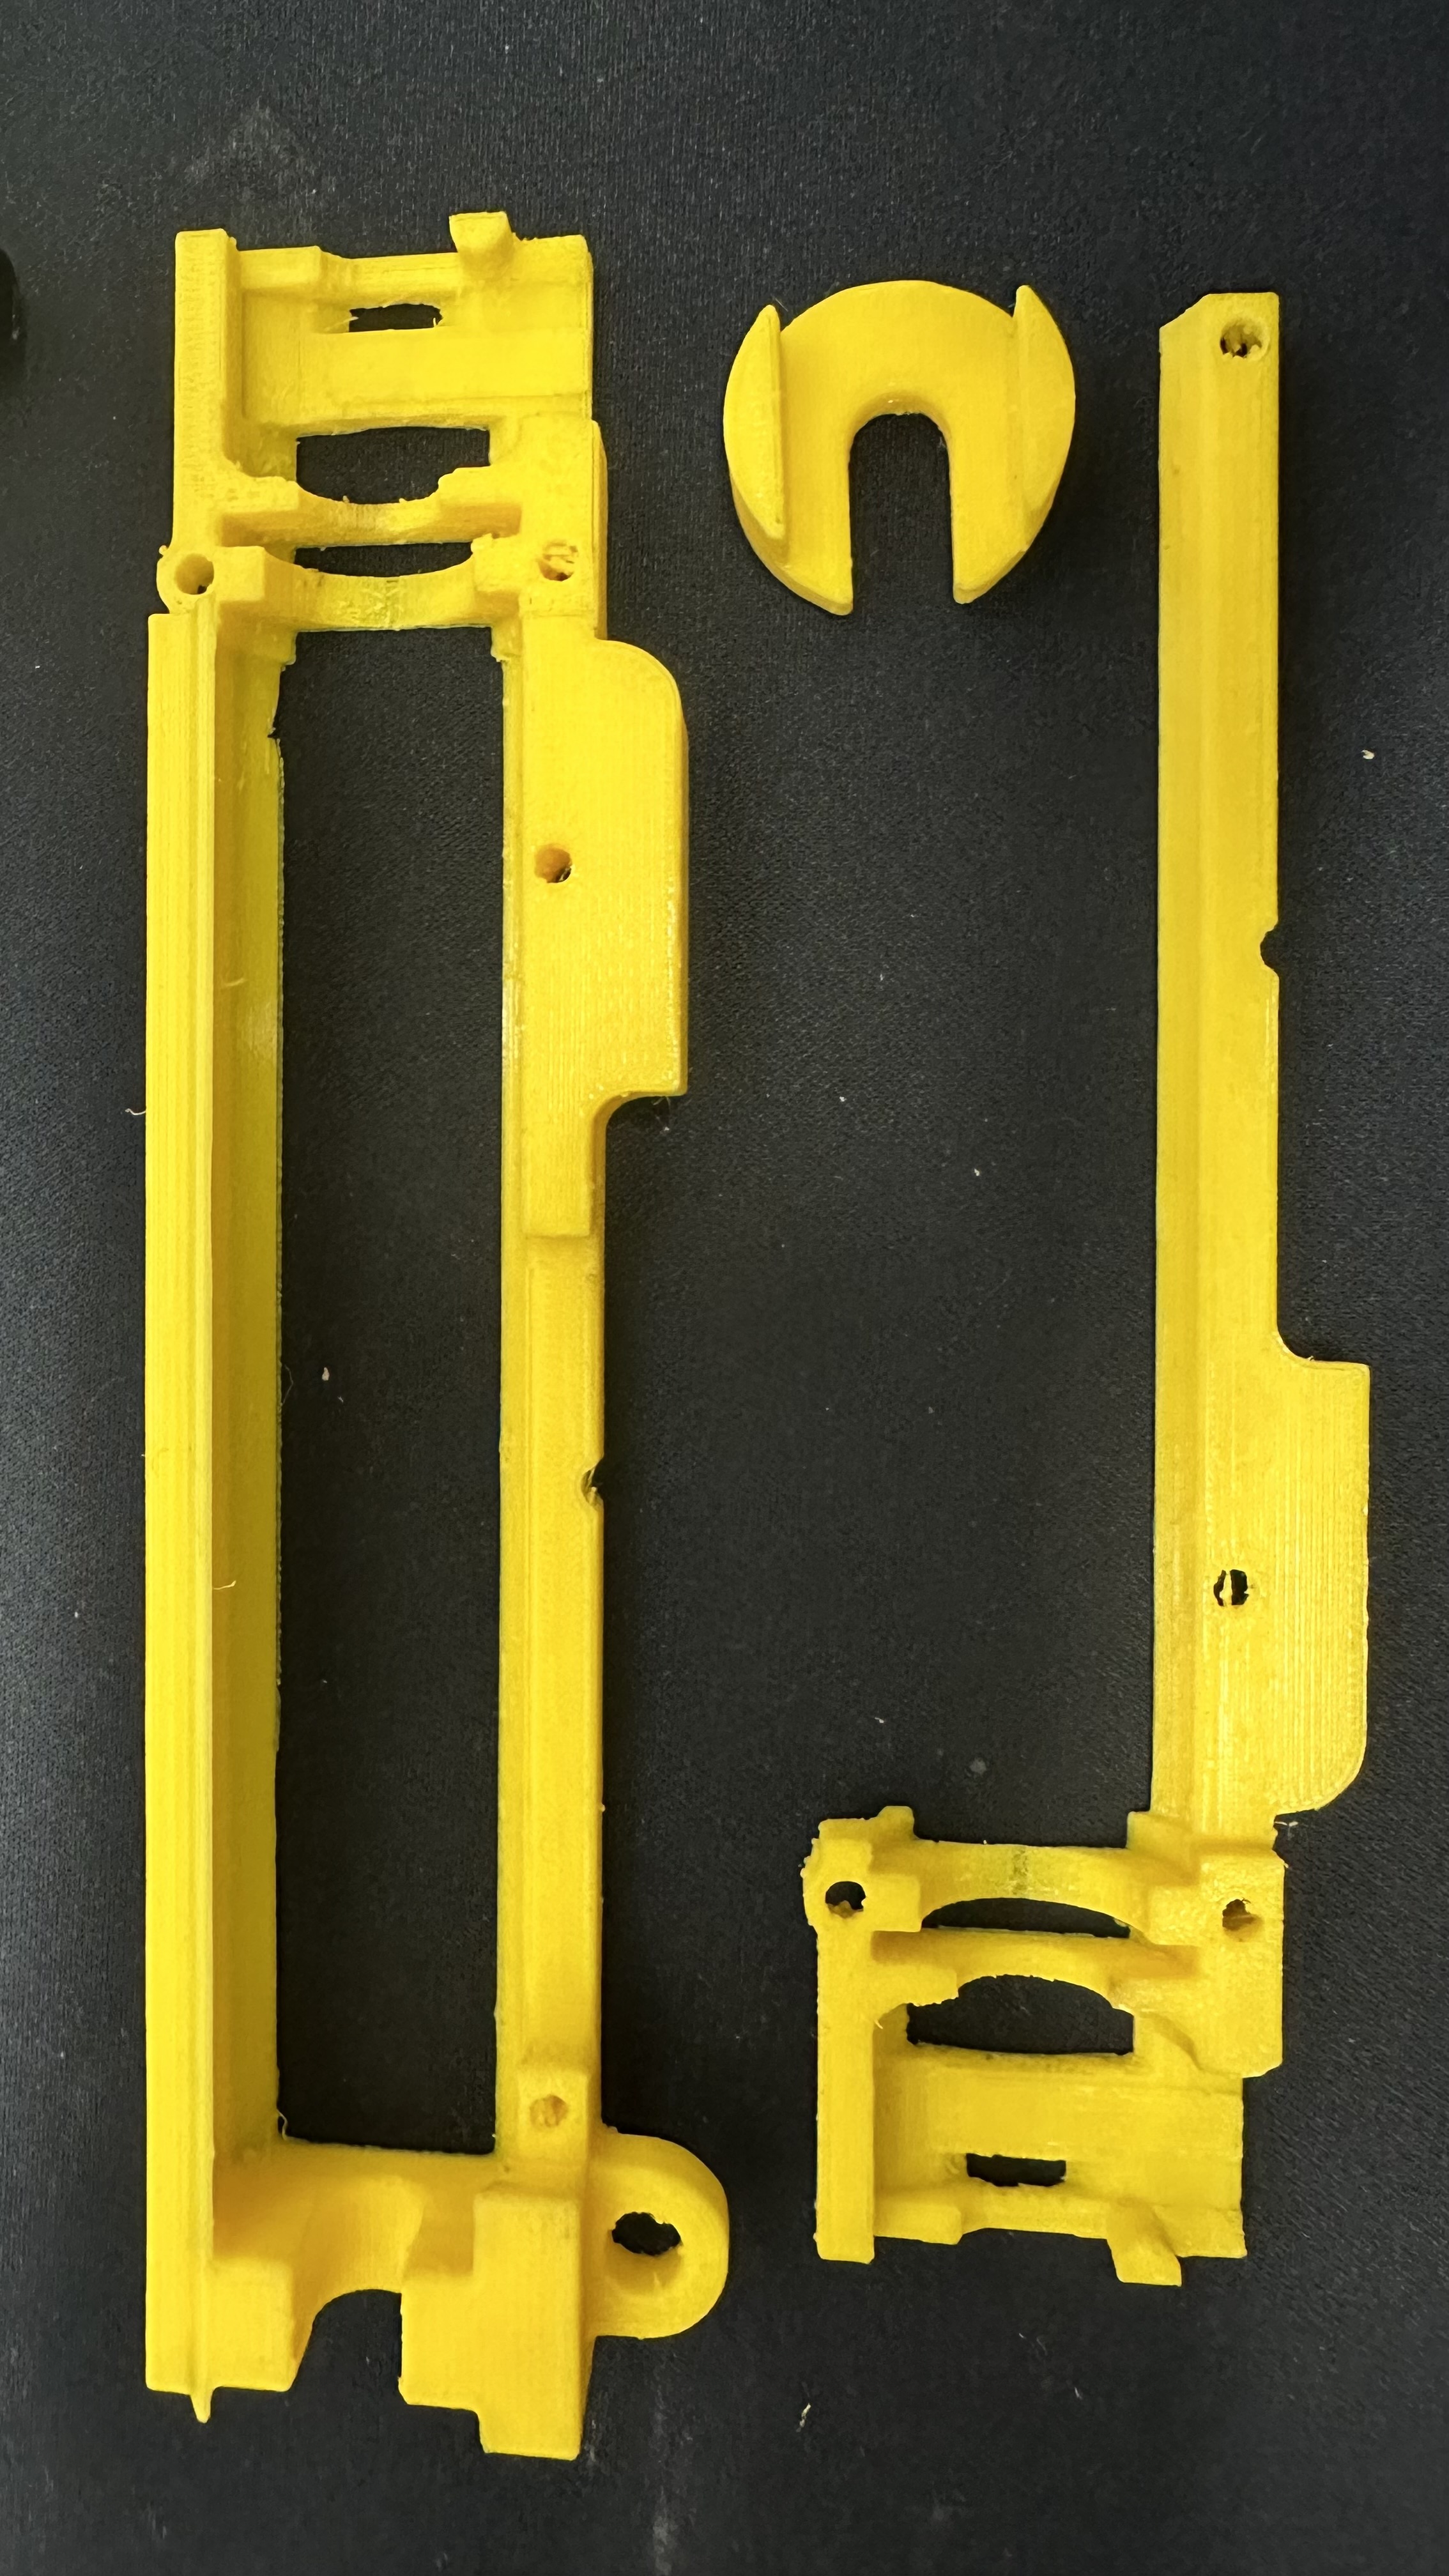
Print Orientation
Models should be printed with the inner side facing up. This is the most optimized orientation, since the critical area is the connection between the engine and the hop-up. Some versions of the model even replicate the shape of the hop-up to fit it more precisely.
001
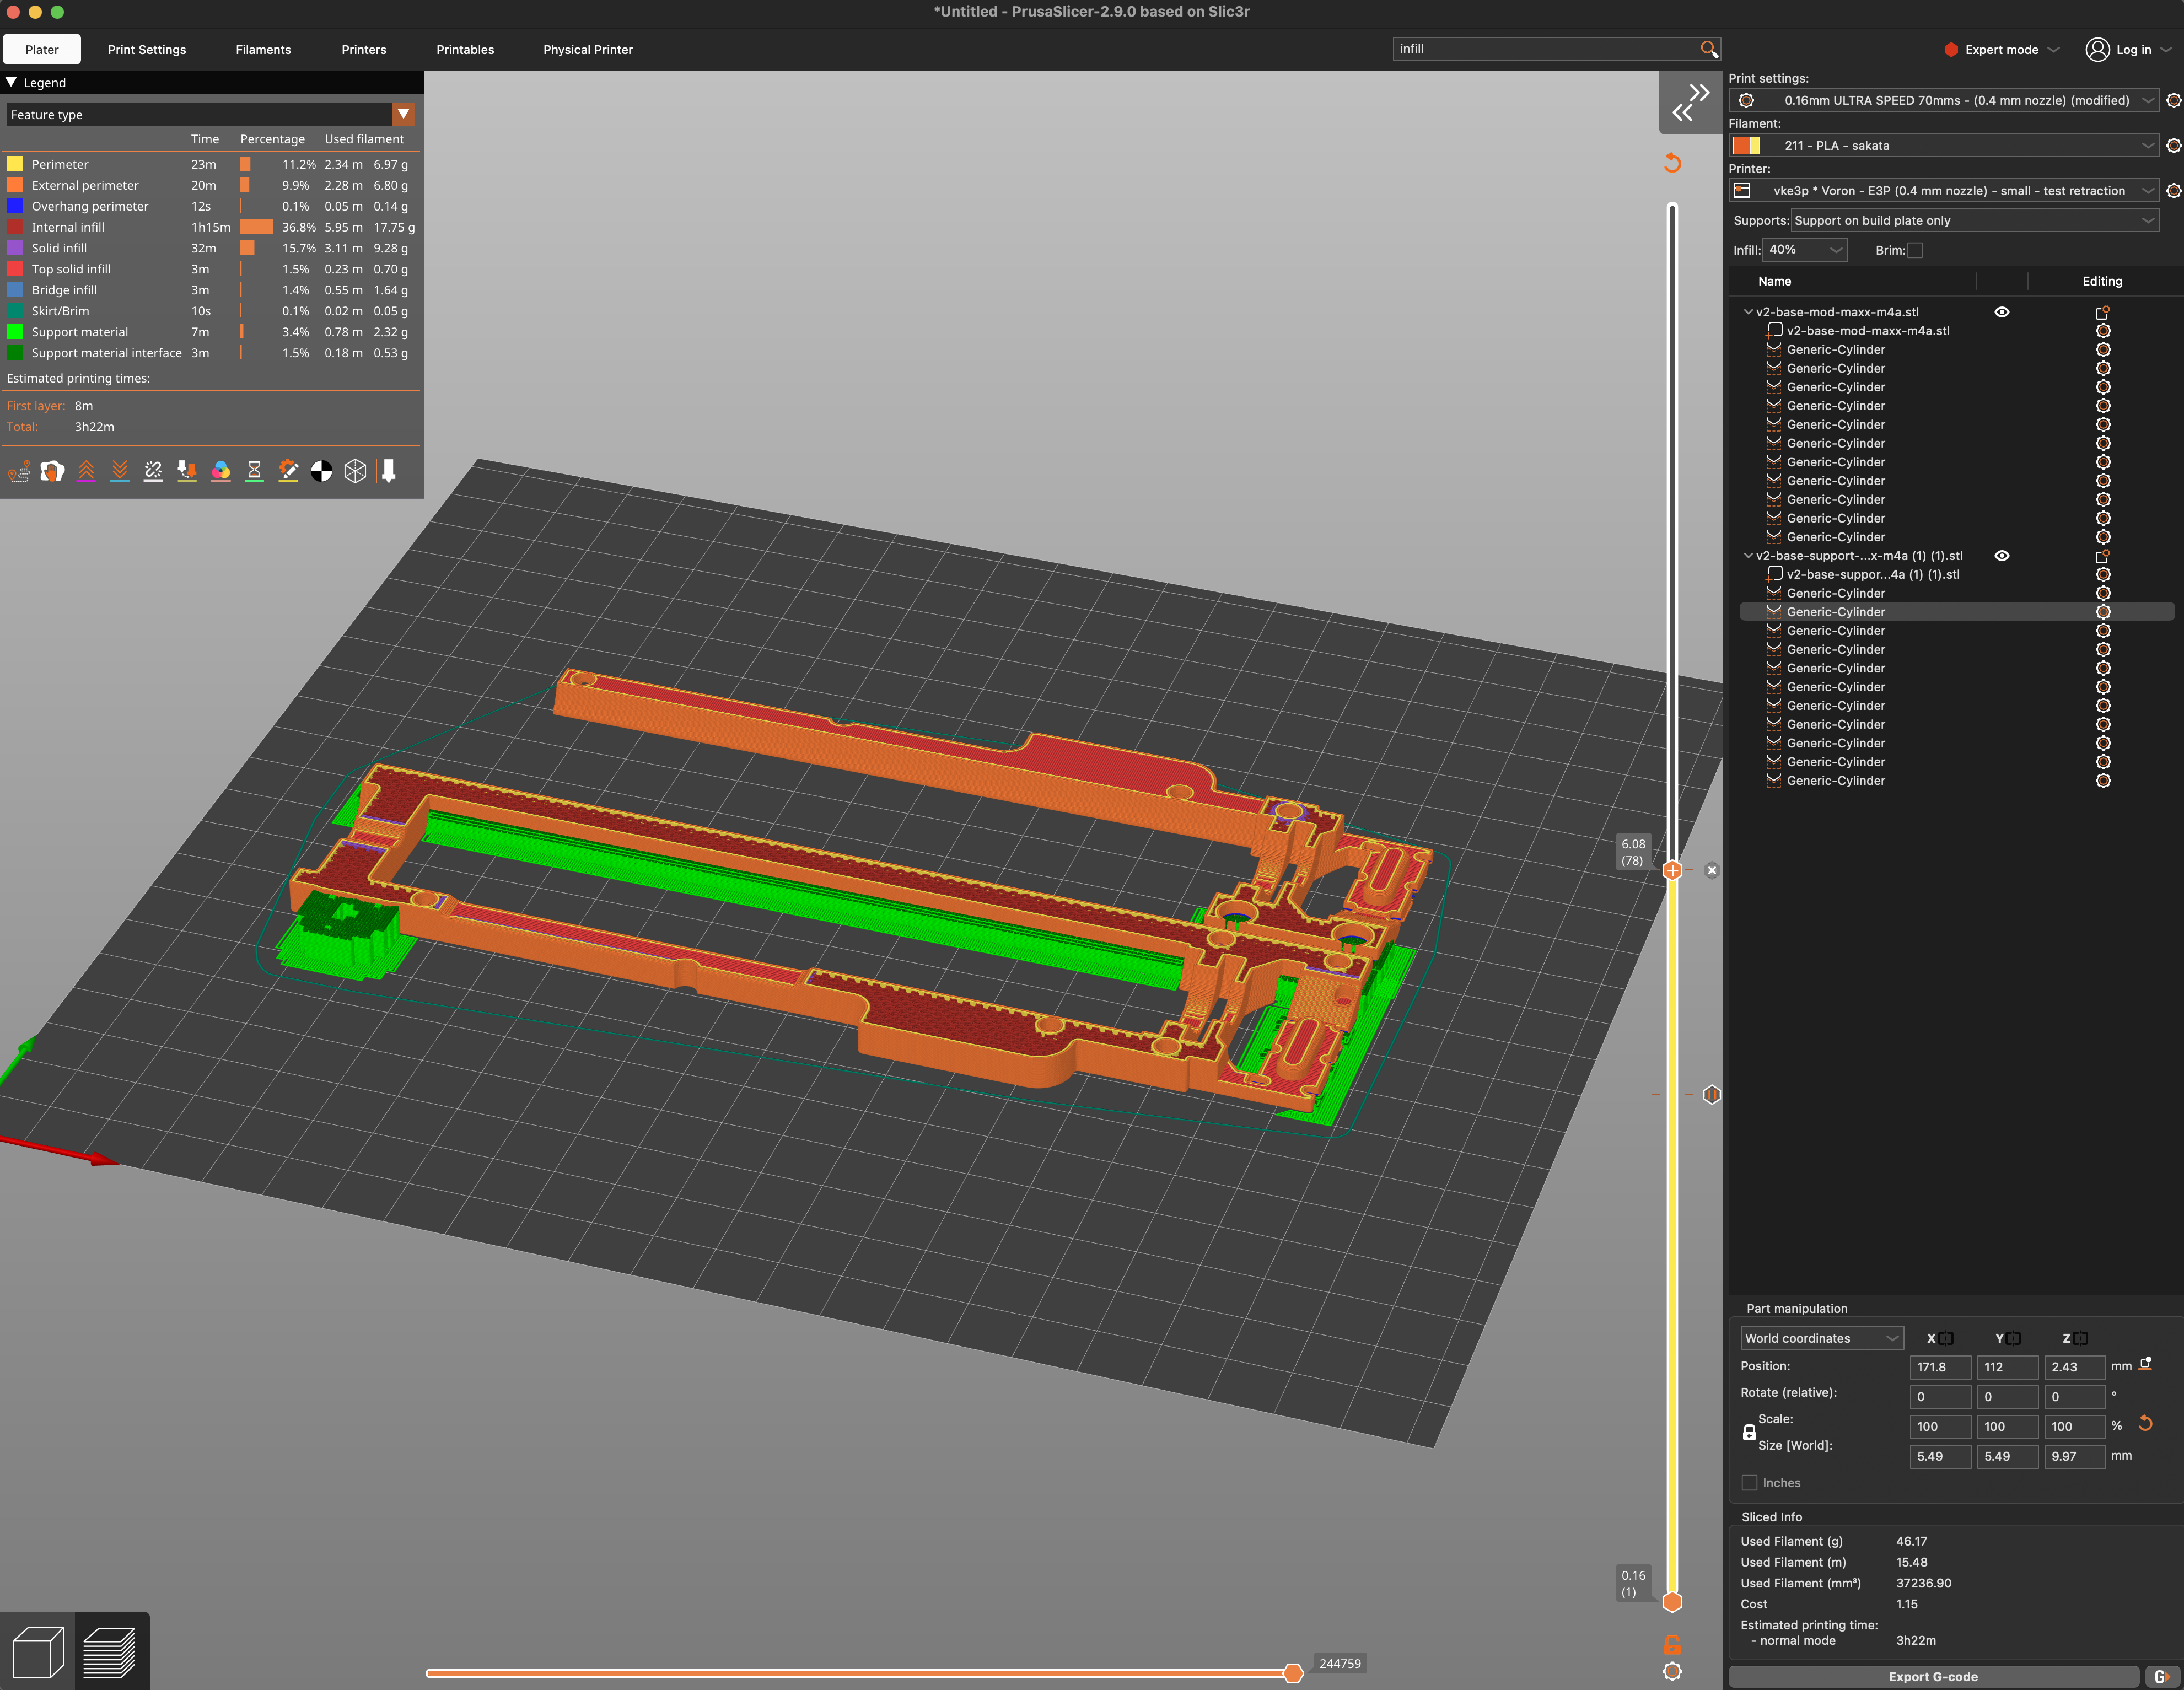
What happens if we print it upside down?
If your print surface is completely smooth, there should be no problem. However, if it has texture or roughness, the outer face will get marked and prevent the two parts of the clip from fitting together properly.
002
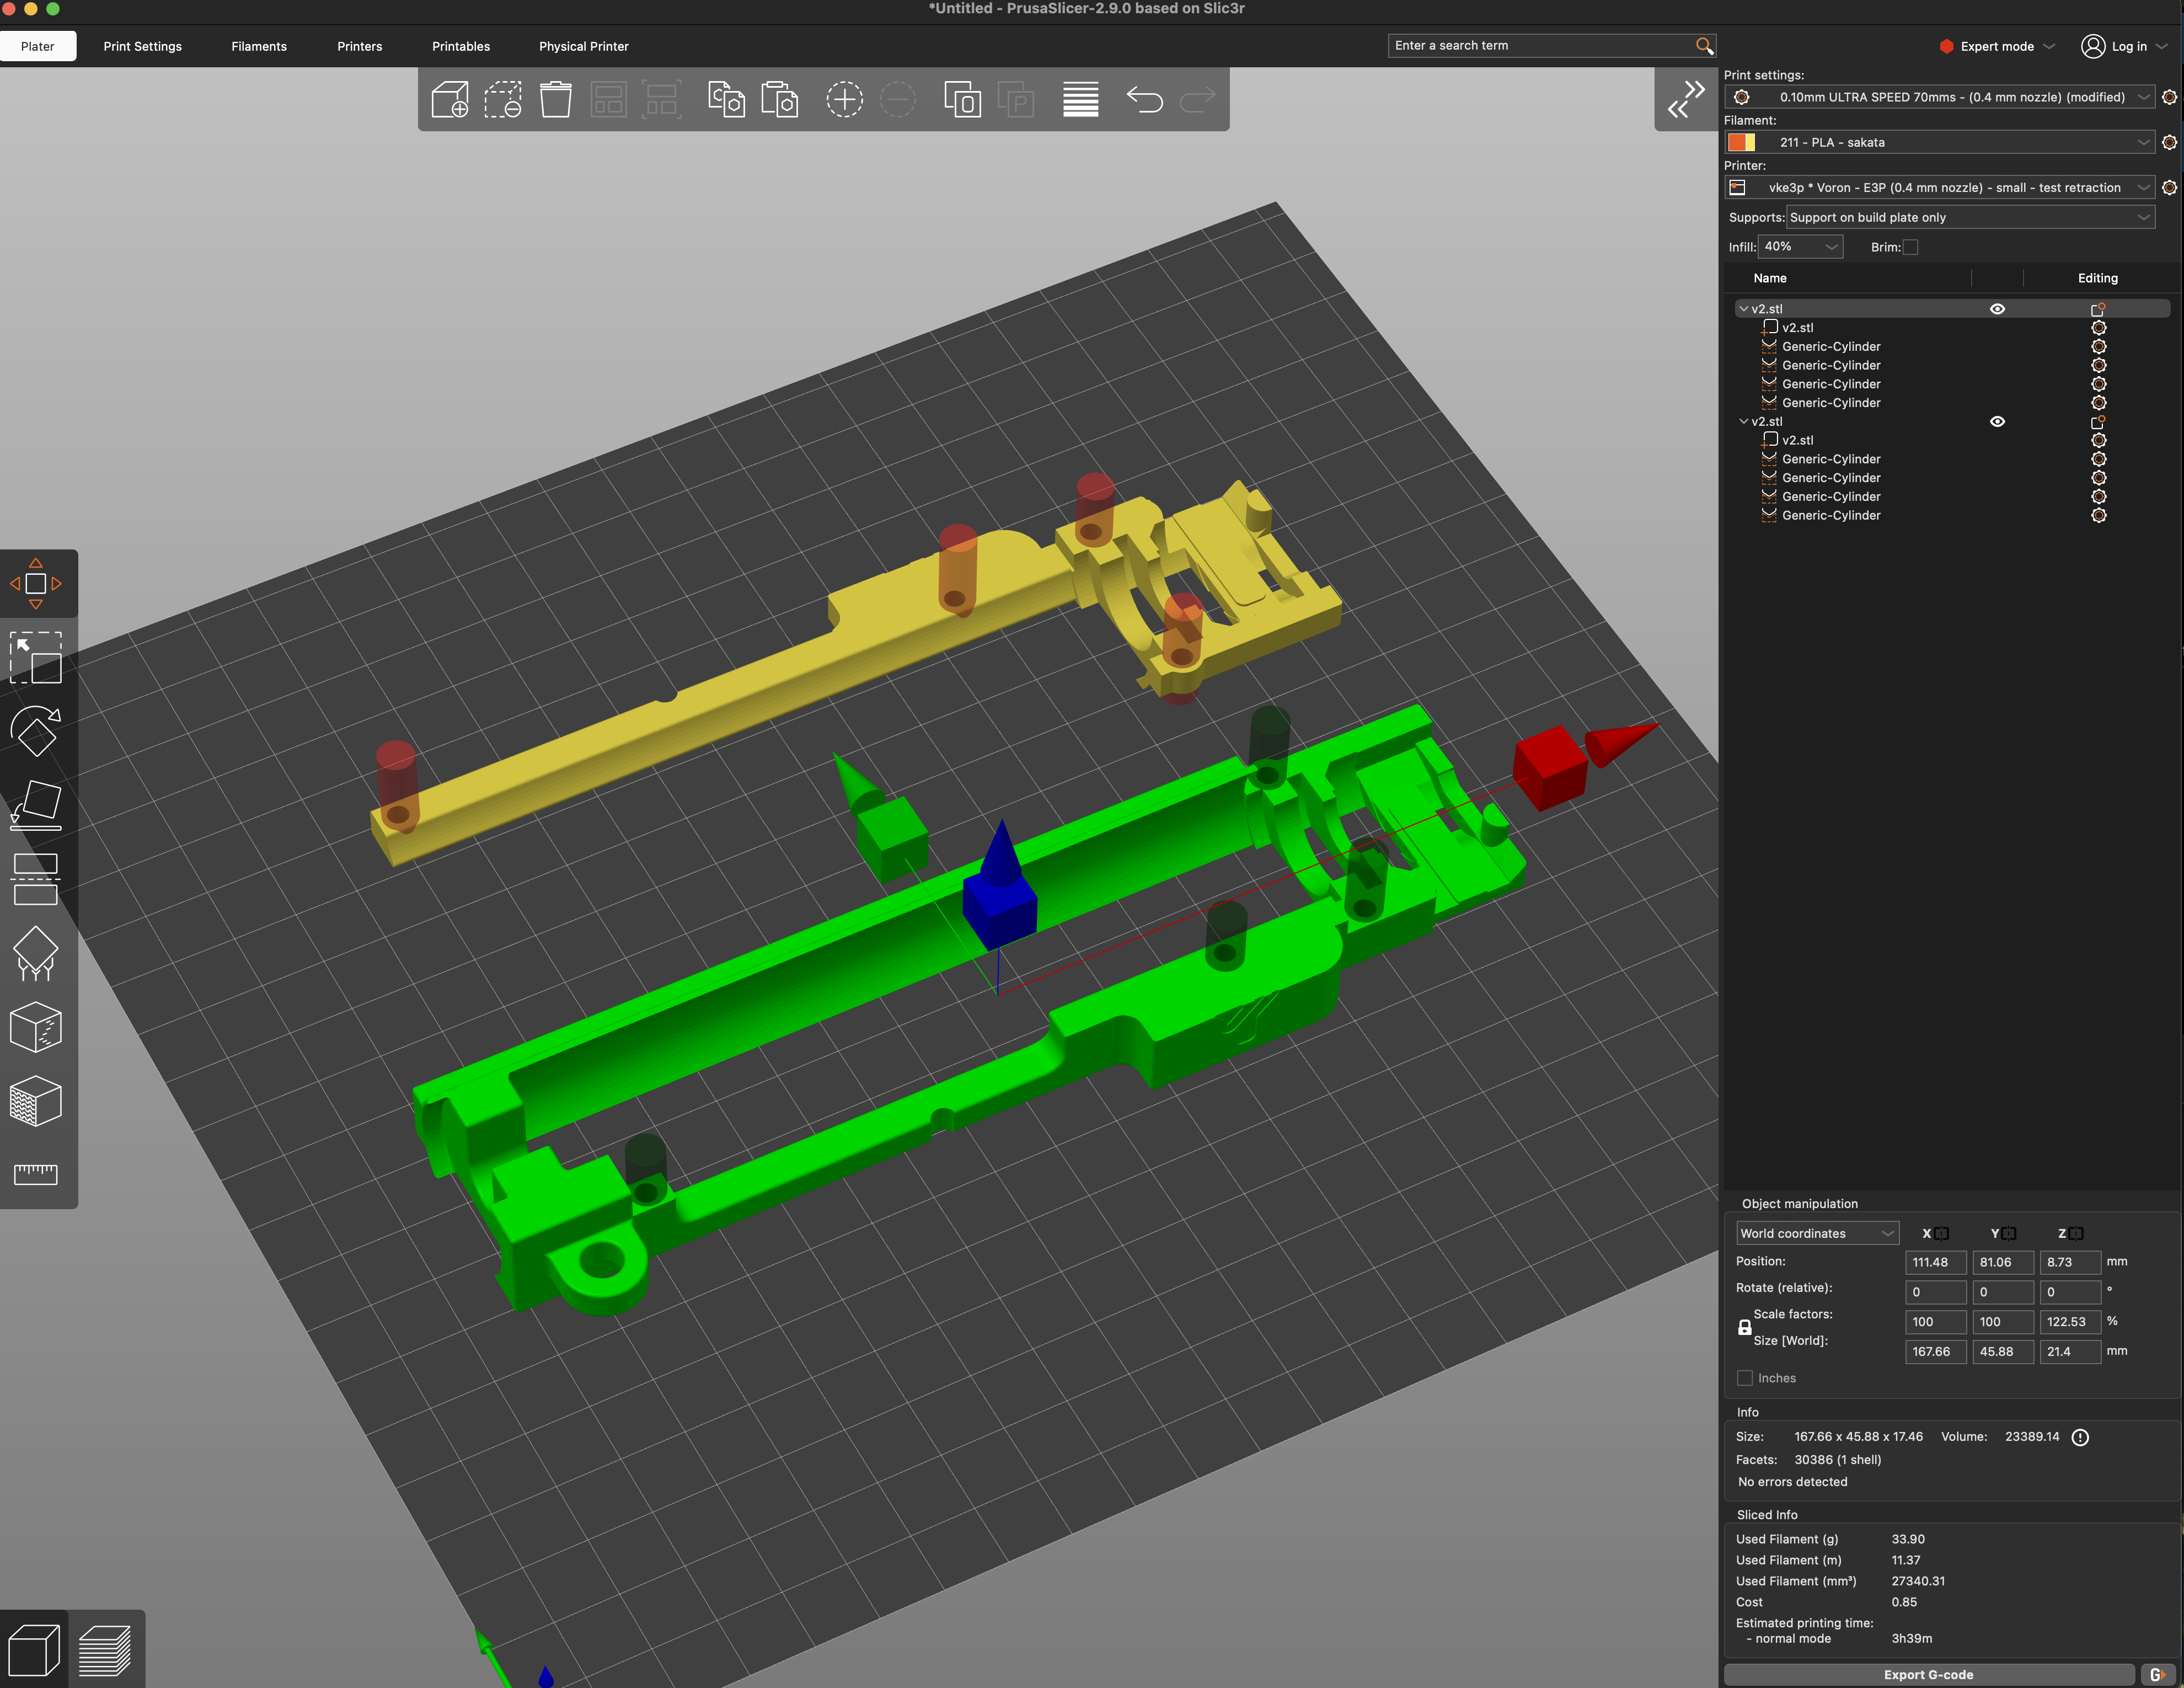
The overhanging rear part
The rear part is an overhang, so bridges are required here. For models like the Wolverine, Phoenix, or similar, this is very simple: the kits sit flat and the bridges are easy to handle.
Kits with F2-type engine
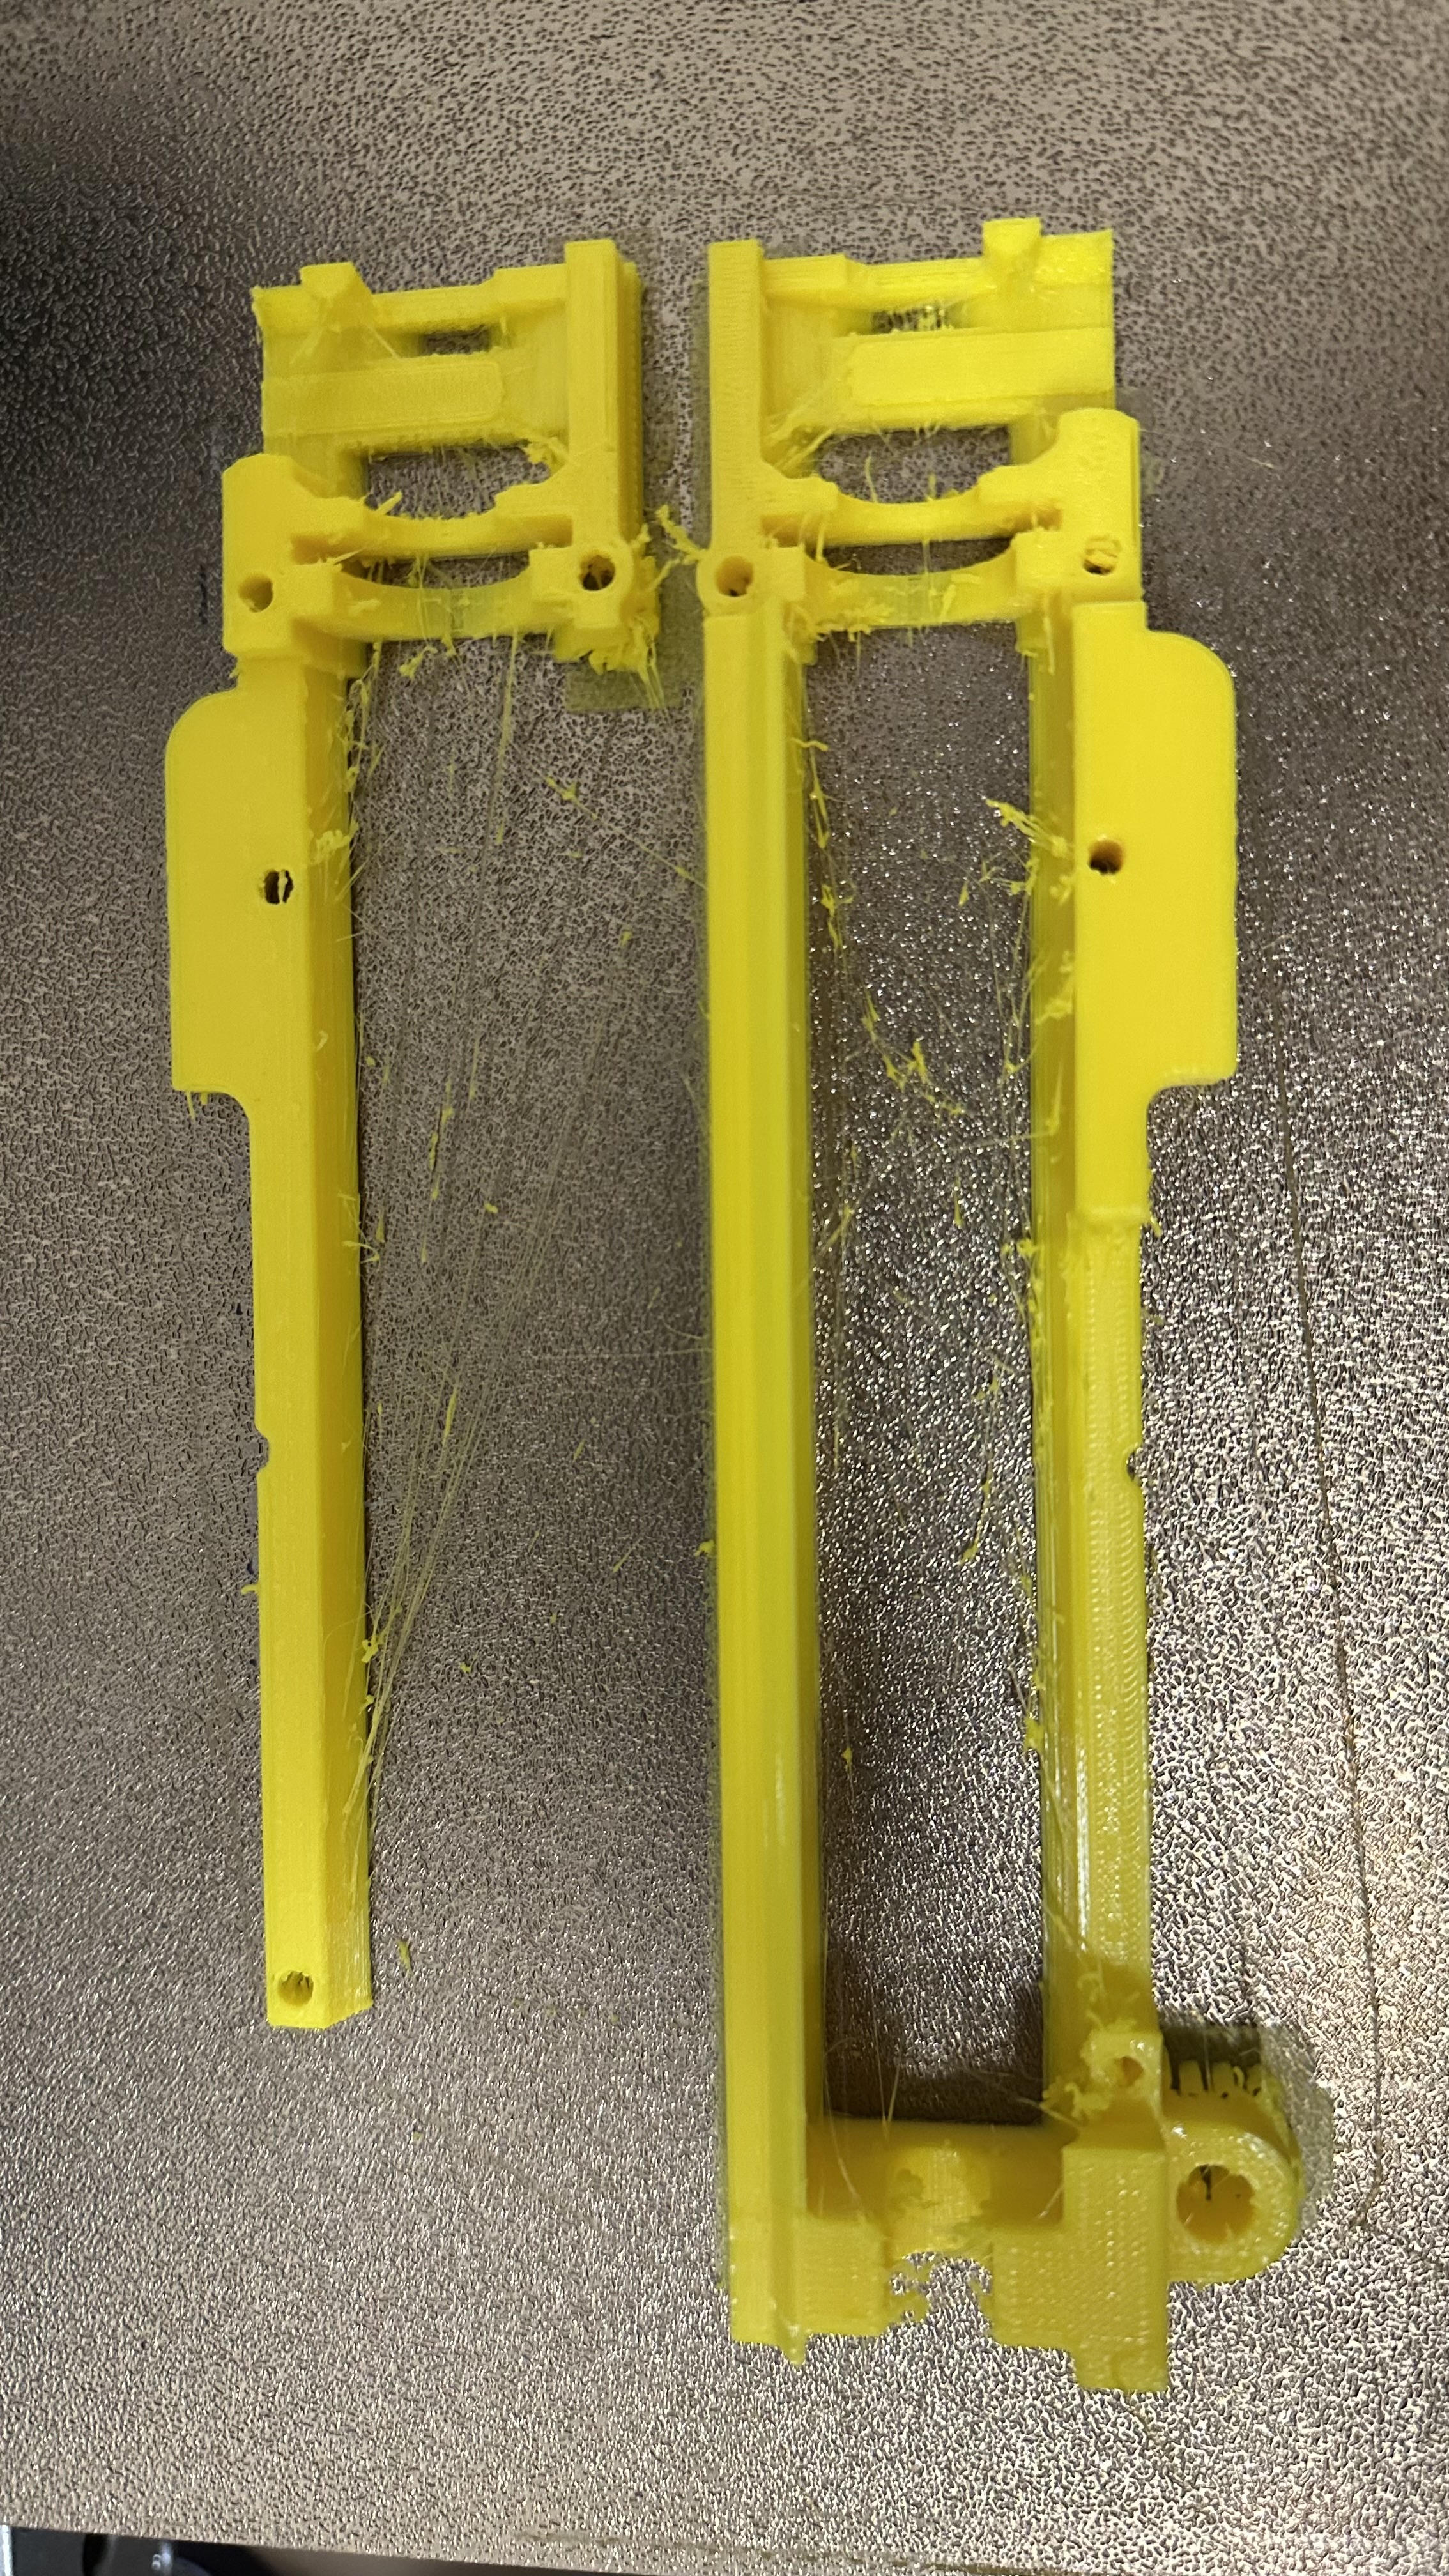
In models like the Aggare, the attachment is made using the pin that sticks out of the gearbox, which in our case fits into the clip. It is printed the same way, but more bridging is needed.
If the outer face ends up slightly rough due to stronger adhesion, don’t worry: there is still enough space at the top of the replica to insert the clip correctly into position.