How to Place Brass Inserts in 3D Printed Parts
001
002
003
004
How to install brass inserts in 3D printed parts
If a 3D printed part is going to be assembled and disassembled multiple times, relying on threads made directly in plastic is usually a bad idea. Sooner or later they strip, deform, or become loose. Brass inserts solve exactly that: they turn a printed part into a much more durable base for standard hardware.
This guide covers the most common methods, from the simplest to near-industrial solutions, and adds recommendations to help you choose based on material, workload, and required performance.
001
When it’s worth using inserts
Using inserts makes sense when:
- the part will be frequently assembled/disassembled;
- the joint is under vibration or load;
- you need a more reliable and repeatable thread;
- you want a more professional finish.
In functional parts, inserts are usually a small cost increase with a big reliability gain.
002
Before starting: what really determines the result
Three factors make the difference:
- correct hole diameter
- proper temperature for the material
- vertical alignment of the insert
You can have a great soldering iron and still install a crooked insert if the hole is wrong or pressure is uneven.
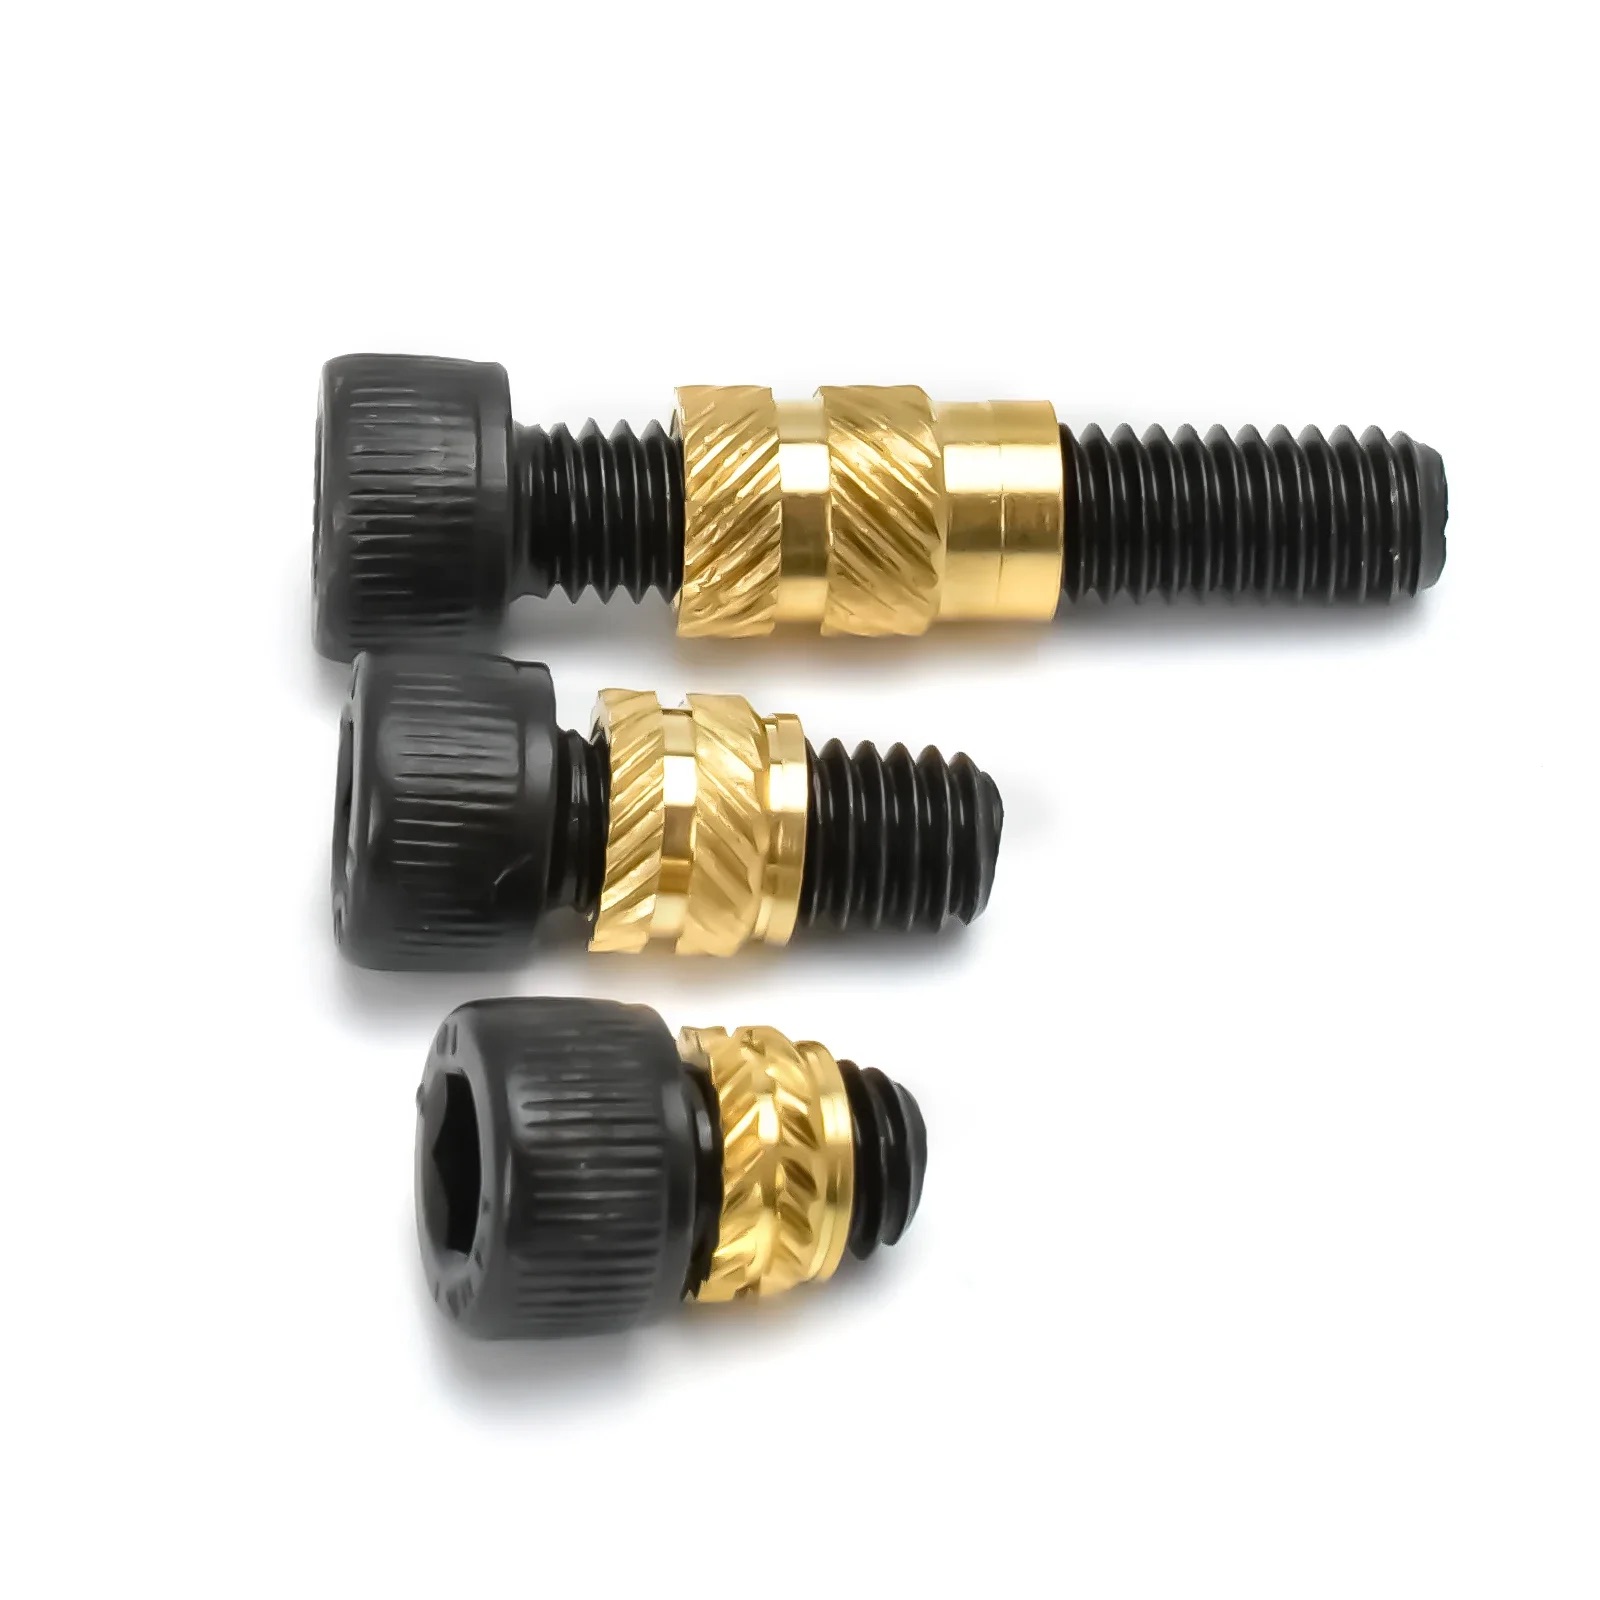
Method 1: press-fit insertion
This is the simplest and fastest method for prototypes. It uses expansion or knurled inserts installed cold.
What you need
- expansion inserts M2–M8
- compatible screw
- printed part with a slightly undersized hole
How to do it
- design the hole slightly smaller than the insert
- print the part
- align the insert
- press it in with constant force
- screw in to expand and grip the plastic
When to use it
- quick prototypes
- non-critical parts
- low load and low temperature setups
Limitations
This is the least robust method. It may loosen under vibration, heat, or repeated use.
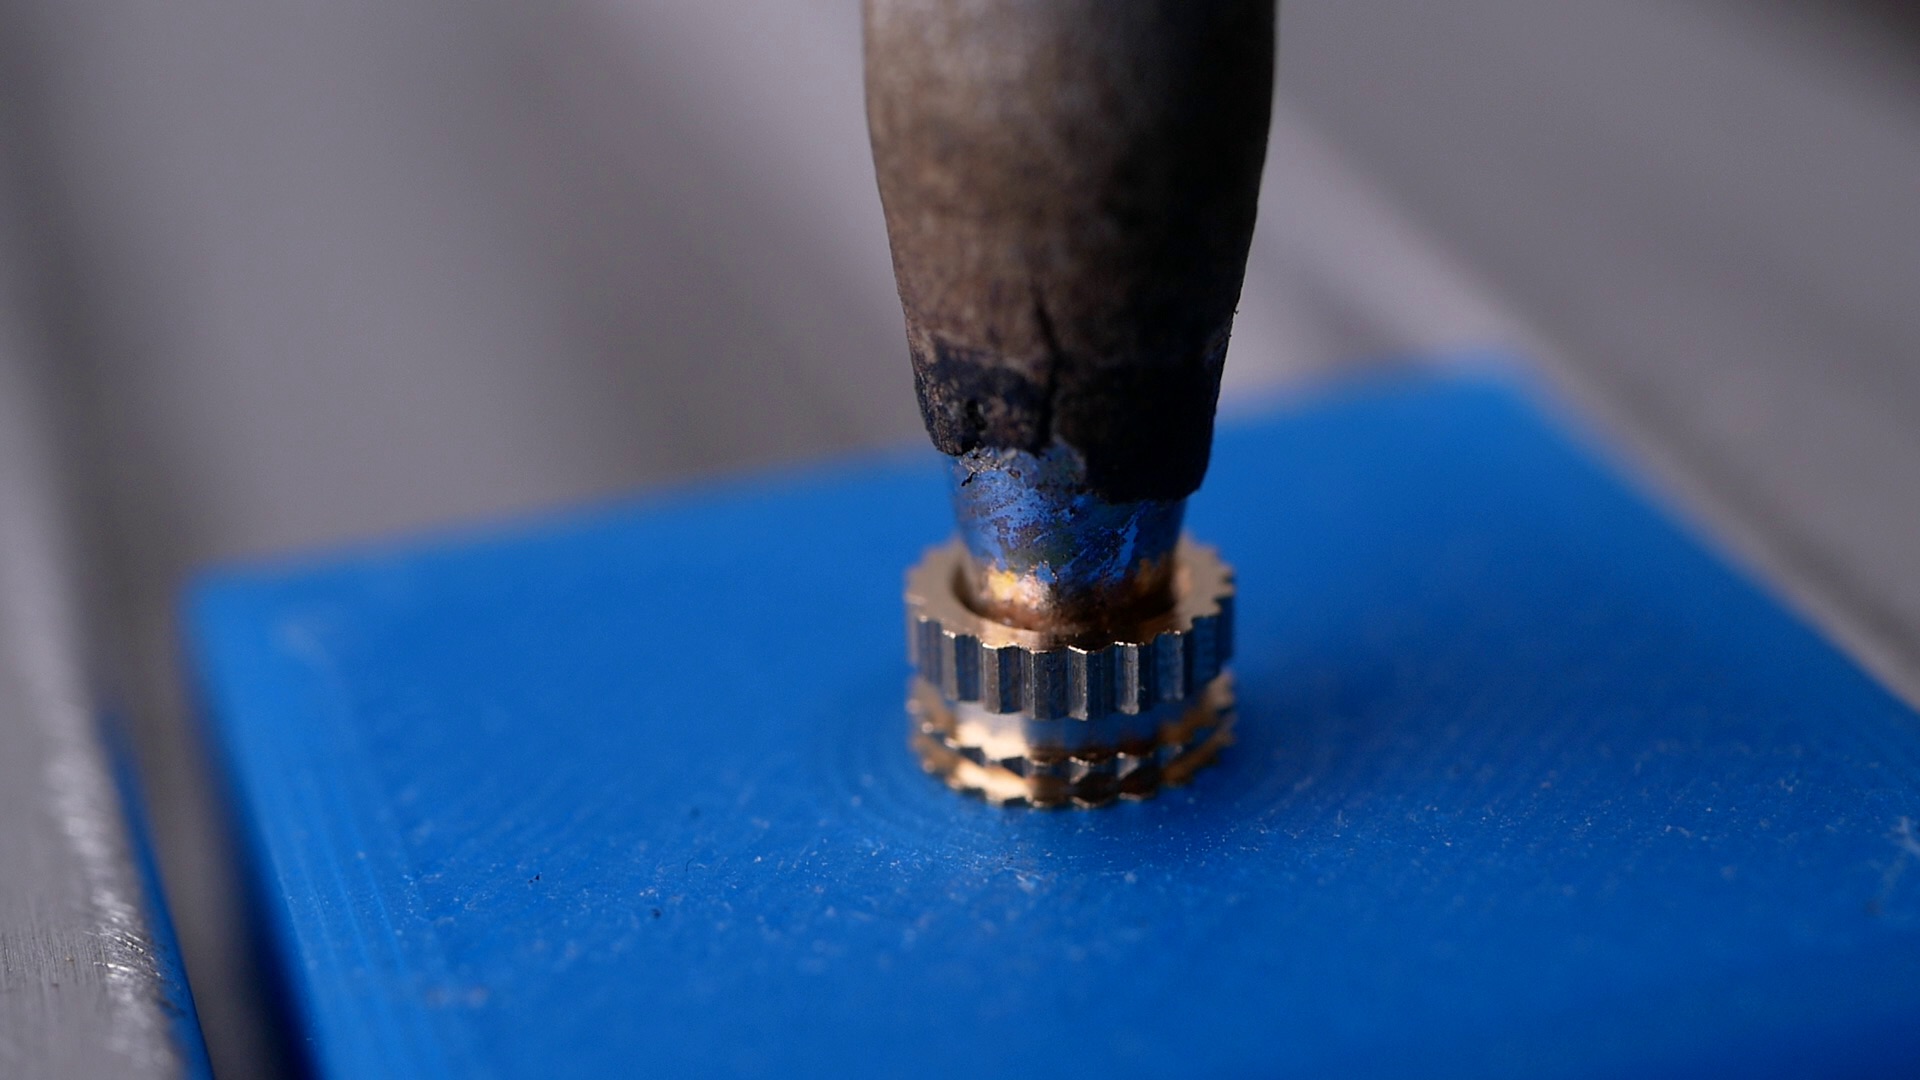
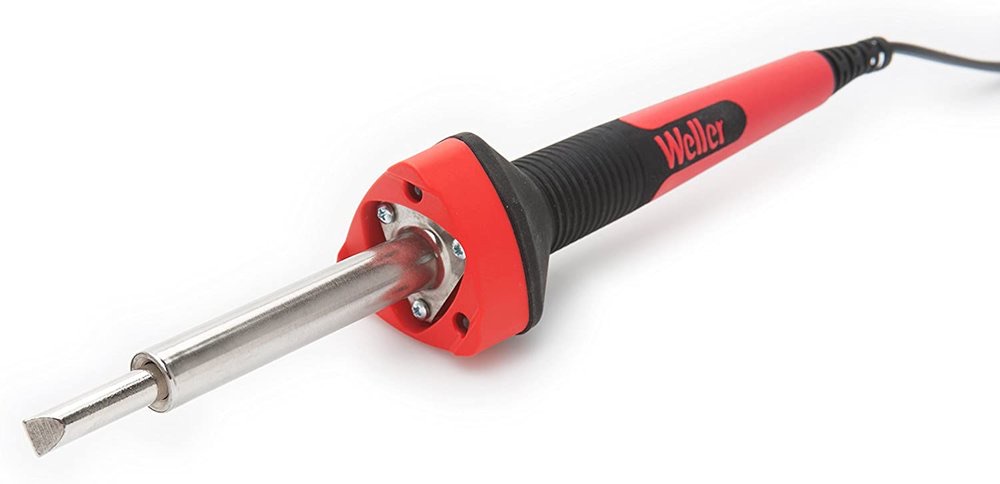
Method 2: adjustable soldering iron
003
This is probably the best balance between cost, ease, and results in a home workshop.
What you need
- adjustable soldering iron
- insert tip or adapter
- heat-set inserts
- heat-resistant gloves
- stable work surface
Reference temperatures
- PLA: 225 °C
- PETG: 245 °C
- ABS: 265 °C
Use these as a starting point — materials and brands behave differently.
Step by step
- preheat the soldering iron (1–2 minutes)
- place the insert straight on the hole
- position the tip inside the insert
- apply gentle, constant pressure
- let the plastic soften and the insert sink naturally
- stop when flush
- remove the tool and let cool without touching
Advantages
- low cost
- repeatable
- excellent results for most users
Method 3: hot air station
A hot air station is useful when you want more even heat distribution or when working on delicate parts.
When it makes sense
- large parts
- thin areas around the hole
- materials sensitive to localized heat
- gradual insertion requirements
Basic process
- set temperature according to material
- secure the part
- heat the area evenly
- insert with gentle pressure
- let cool without movement
Key advantage
Better thermal control and less concentrated heat.
Method 4: thermal press for inserts
When the process becomes repetitive, a guided thermal press is worth it.
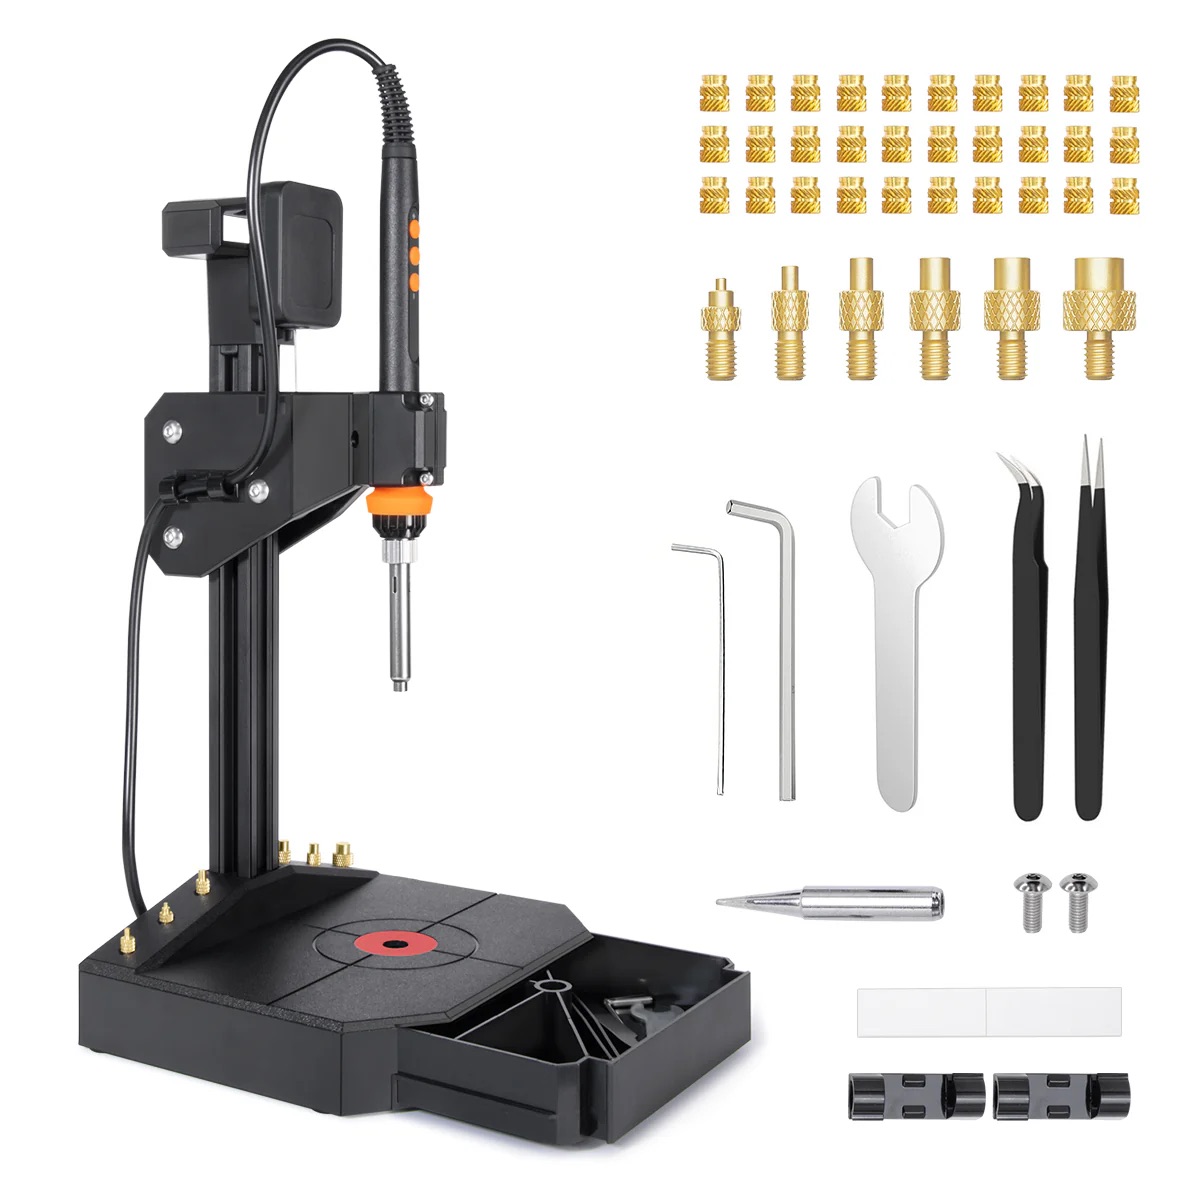
004
What it provides
- consistent depth
- perfectly vertical insertion
- faster workflow
- fewer failed parts
When it’s worth it
- medium/large production runs
- repeated workflows
- precision-critical parts
Method 5: ultrasonic insertion
This is the most industrial solution. It uses ultrasonic vibration to melt plastic around the insert with minimal force.
Pros
- maximum repeatability
- excellent dimensional control
- ideal for delicate or resin parts
Cons
- expensive equipment
- not practical for most home workshops
How to choose quickly
If you’re starting
Use an adjustable soldering iron — best balance overall.
If you only make quick prototypes
Press-fit may be enough.
If you produce regularly
Consider a thermal press.
If working with delicate parts
Use hot air or more advanced solutions.
Common mistakes
Incorrect hole size
Most common issue. Example reference for M4: 5.7–5.8 mm, but always test.
Too much heat
Burns plastic and weakens the fit.
Too little heat
Requires force and causes misalignment.
Uneven pressure
Leads to crooked inserts — hard to fix later.
Poor-quality inserts
Bad tolerances = poor performance.
Quick troubleshooting
Insert goes in crooked
Check alignment, hole size, and pressure timing.
Excess plastic overflow
Too much heat or too fast insertion.
Insert spins
Hole too large, too much heat, or poor insert quality.
Working with resin parts
Use caution with heat — epoxy or special inserts may be better.
Recommended materials
The original reference mentions brands like Ruthex or AMTEC, plus temperature-controlled tools. No need for premium tools, but avoid very low-quality inserts.
Quick FAQ
Best method for most users?
Adjustable soldering iron with heat-set inserts.
Is press-fit reliable?
Yes, but mainly for prototypes or low-stress parts.
Same settings for PLA and PETG?
No — PETG usually needs higher temperature.
Should parts be designed for inserts?
Yes — proper hole design is critical.
Final note
Installing brass inserts properly is one of those small improvements that dramatically increases the quality of a printed part. With correct hole size, temperature, and alignment, the difference compared to printed threads is huge.