Forged carbon fiber outer barrel for M4/AR15 AEG Airsoft rifles
001
Building a forged carbon outer barrel for an M4/AR15 is not the simplest workshop project, but it’s one of the most interesting if you want to reduce weight, increase rigidity, and achieve a unique aesthetic compared to standard parts. This guide aims to provide a clear, realistic, and repeatable process for users already familiar with 3D printing, resins, and precision adjustments.
001
The approach is based on Sychev Lab content: 3D printed molds, carbon fiber, epoxy resin, and a commercial carbon tube as the main structure.
What you’ll achieve with this project
A well-executed forged carbon outer barrel can provide three real advantages:
- less weight at the front of the replica
- more rigidity than some plastic solutions
- a clean and uncommon aesthetic
This is not a project for rushed improvisation. If you take your time with preparation, curing, and alignment, the result can go far beyond a simple experimental part.
Materials, tools, and safety
Materials
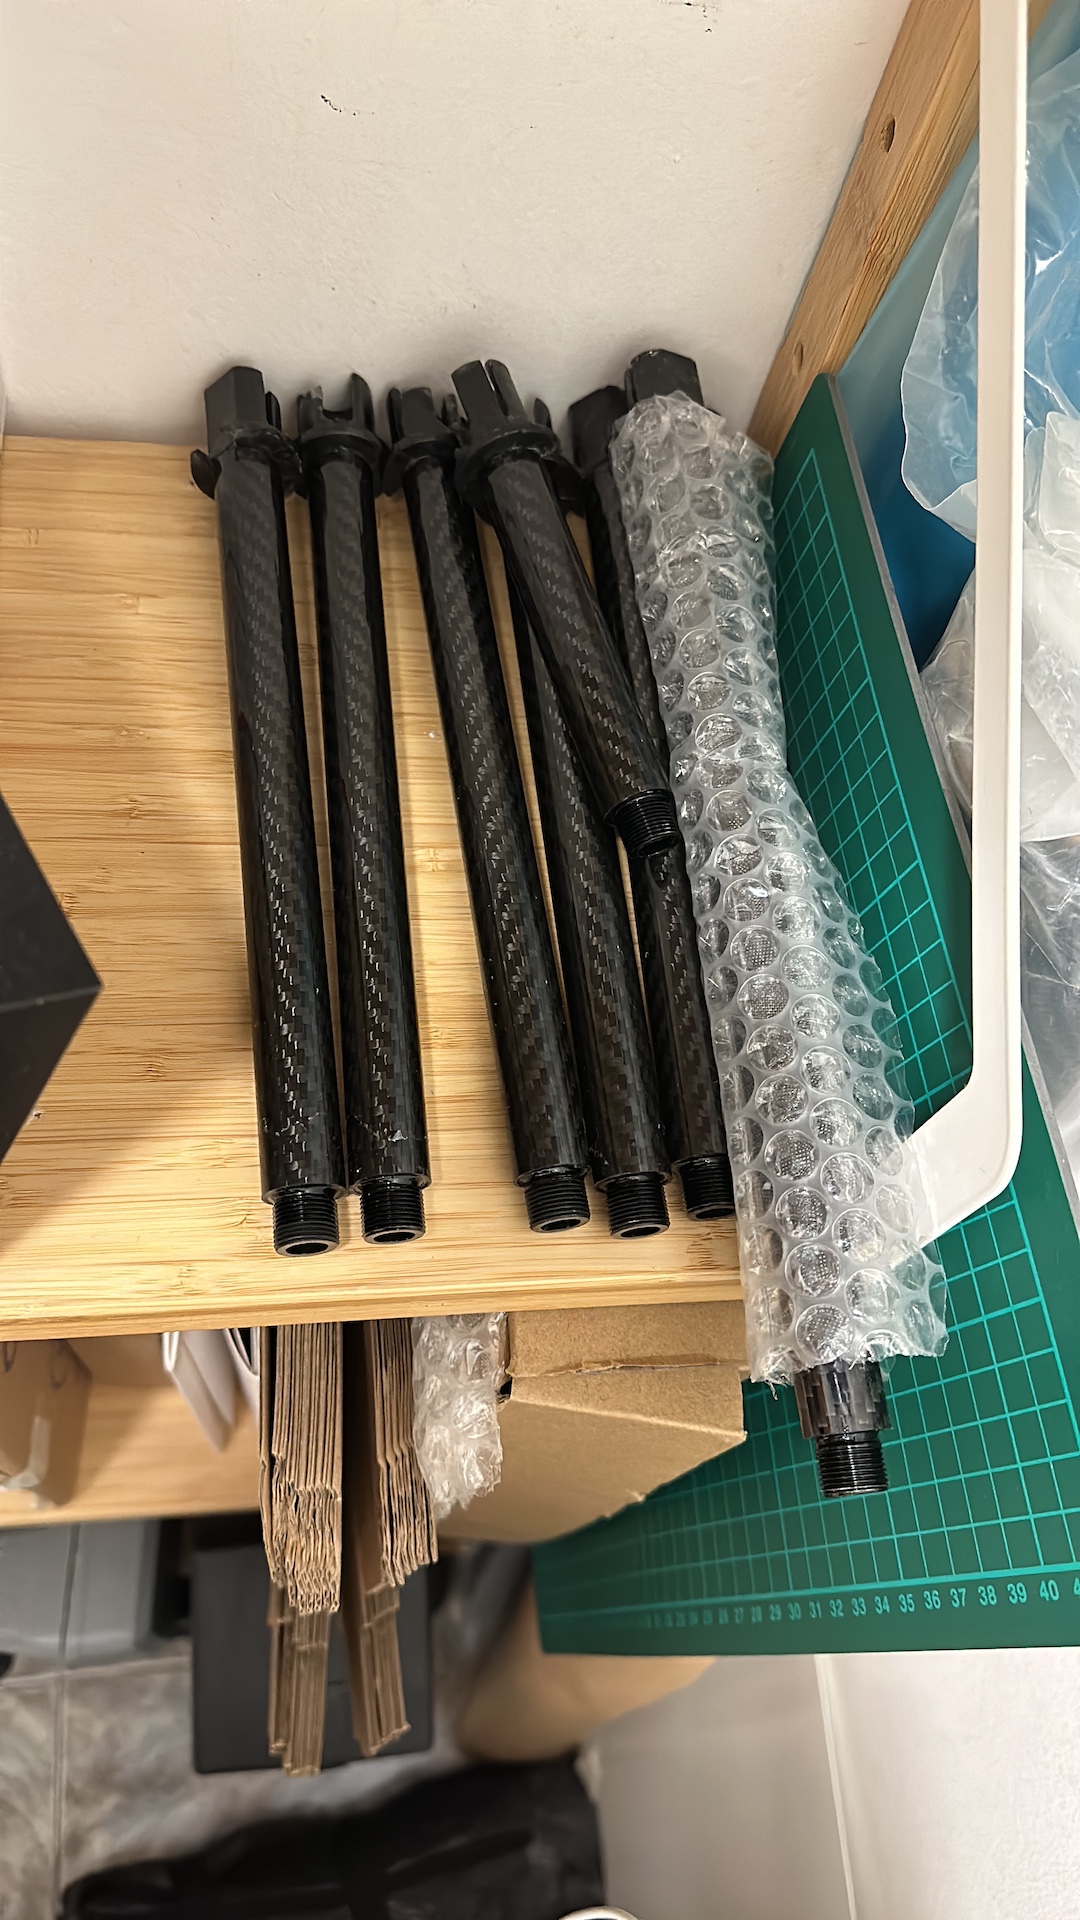
- commercial carbon fiber tube, typically 18 × 16 × 500 mm
- chopped carbon fiber
- epoxy resin for composites
- release wax
- optional PVA as an additional release agent
- PLA for printing molds
- structural epoxy adhesive for final assembly
Tools
- FDM 3D printer
- Dremel or rotary tool with cutting disc
- clamps or mold closing system
- sandpaper (grit 80 and 240)
- brush or spatula for distributing resin
- isopropyl alcohol for cleaning
Safety
Always work with:
- proper mask
- safety goggles
- gloves
- good ventilation
Carbon fiber and resins are not materials to handle casually. Especially when cutting or sanding, avoid generating dust and never work without protection.
System structure
According to the base design, the assembly is built around four elements:
- muzzle tip or suppressor mount
- internal support structure for hop-up
- carbon tube as main body
- final bonding with structural epoxy adhesive
This approach separates functions: the tube provides lightweight structure, while internal parts handle alignment and support.
Step 1: print and prepare the molds
Printing recommendations
Although the original content does not specify all parameters, good practice for functional molds includes:
- layer height around 0.20 mm
- enough perimeters to prevent deformation
- medium/high infill for pressure resistance
- orientation that ensures clean closure and accurate cavity
Post-processing
- carefully remove supports
- lightly sand contact areas (grit 240)
- perform a dry fit test
- correct any visible misalignment or steps
Poor mold preparation leads to problems later in demolding and surface finish.
Step 2: prepare the mold
Before adding fiber and resin:
Checklist
- clean internal surfaces
- apply 3 to 5 thin layers of release wax
- polish between layers if required
- use PVA for extra safety if needed
- seal external joints if leaks are possible
Skipping this step often leads to damaged parts or difficult demolding.
Step 3: prepare fiber and resin
The goal is uniform impregnation, not excess resin.
Recommended process
- weigh the carbon fiber
- mix resin according to manufacturer ratio
- stir without introducing air
- lightly and evenly impregnate the fiber
Too much resin = more weight and worse finish.
Step 4: layup and mold closure
- place fiber inside the mold cavity
- distribute evenly with a brush
- check corners and deep areas
- close the mold
Apply pressure gradually using clamps. Compress without forcing material to one side.
Step 5: compression and curing
Reference values:
- apply progressive pressure
- allow excess resin to escape
- clean overflow before full cure
- cure for 12–24 hours at 20–25 °C
Do not open the mold prematurely.
Step 6: cut the carbon tube
Focus on safety and precision.
Process
- mark length with tape
- cut using a Dremel with fine disc
- rotate tube slowly
- optionally reduce dust
- sand edges with grit 240
Check
- perpendicular cut
- no exposed fibers
- proper fit with internal supports
Step 7: demolding and finishing
After curing:
- open mold carefully
- avoid stressing fine areas
- apply gentle heat if needed
- remove excess material (grit 80 → 240)
- clean with isopropyl alcohol
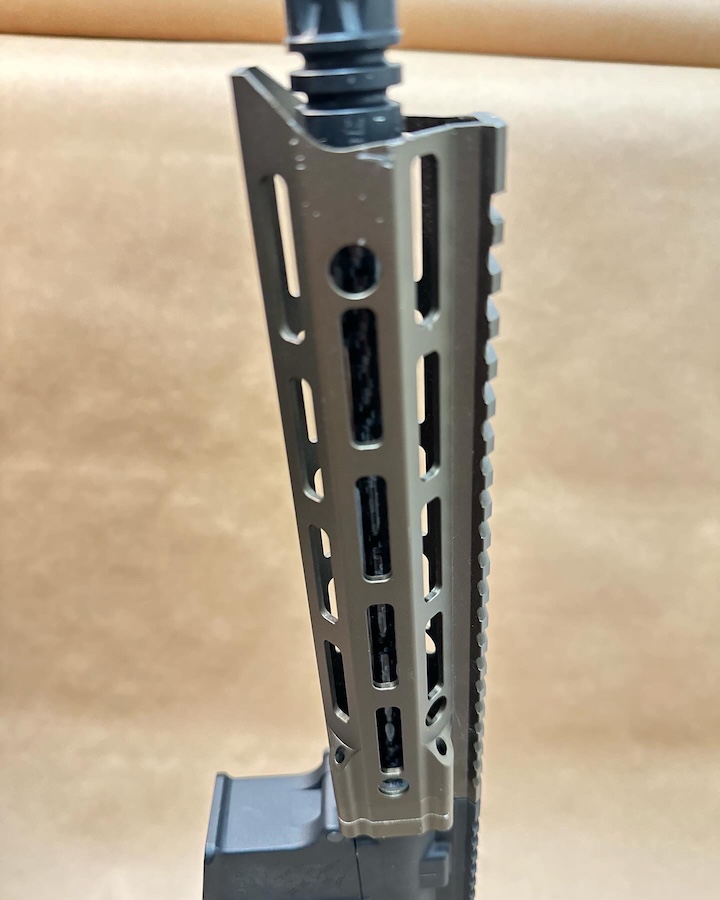
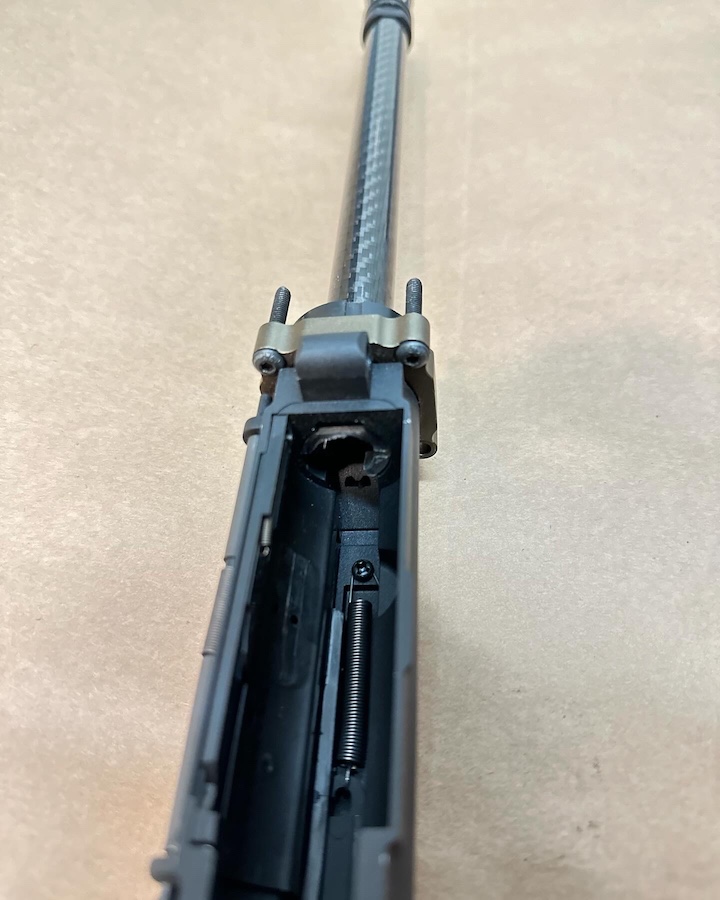
Step 8: final assembly
Critical for alignment.
Process
- apply structural epoxy to muzzle and internal support
- insert into carbon tube
- check alignment and concentricity
- adjust before adhesive sets
- allow full cure
Common mistakes
Too much resin
Adds weight and reduces quality.
Poor mold preparation
Leads to difficult demolding or damage.
Crooked tube cuts
Creates alignment issues later.
Early demolding
Internal cure may not be complete.
Quick troubleshooting
Voids or bubbles
Check impregnation and pressure distribution.
Difficult demolding
Likely insufficient release agent.
Misalignment after assembly
Check cut precision and adhesive working time.
Quick FAQ
Is this beginner-friendly?
Only if you already have some experience with 3D printing and resins.
Is carbon fiber worth it?
Yes — especially for weight reduction and rigidity.
Can I use any epoxy?
Use appropriate resin for laminating and structural adhesive for bonding.
What is the most critical step?
Mold preparation, curing, and final alignment.
Final note
A well-executed forged carbon outer barrel is not just visually striking — it can be a real upgrade in weight, rigidity, and overall build character. The key is respecting process, timing, and tolerances.
For publishing, this guide benefits greatly from adding photos of molds, tube cutting, and final assembly — these are the most critical visual steps.
[!INFO]
Interested in this project and want to replicate it?
You can contact me to get the models of the parts mentioned, as long as you credit me and share my profile or website. :contentReference[oaicite:0]{index=0}