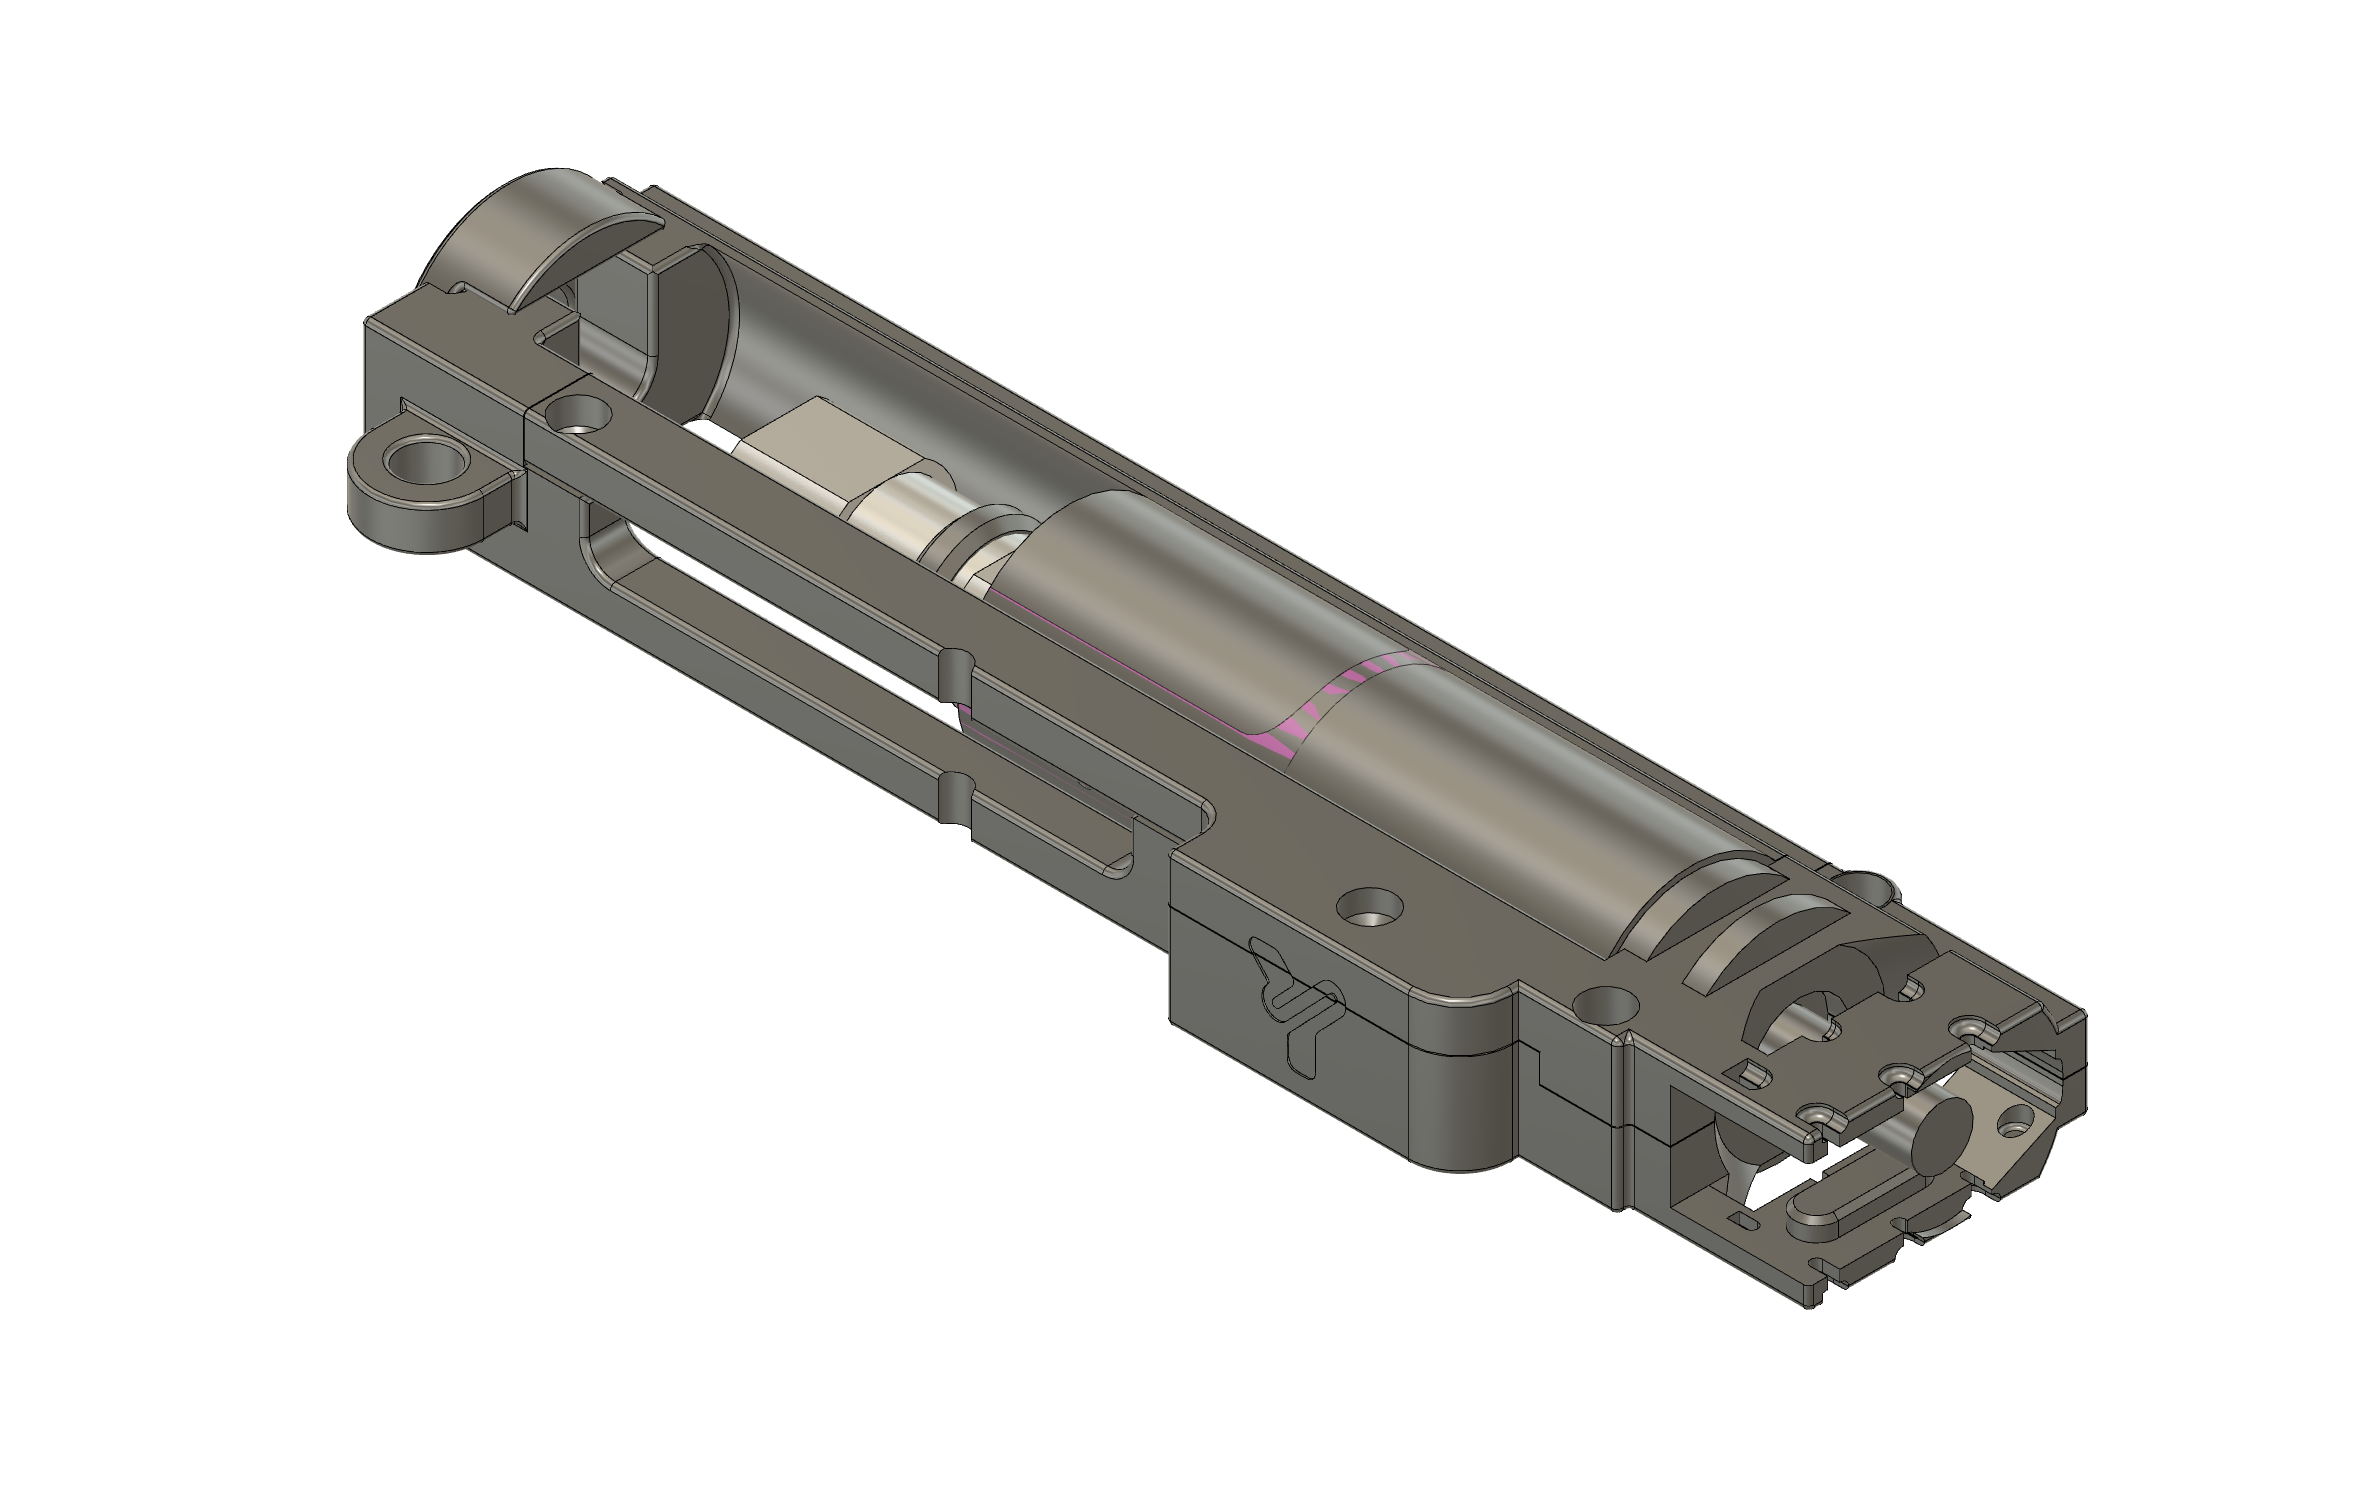

Version 2.1 of the hop-up alignment system, designed specifically for M4 AEG HPA replicas using:
- Wolverine Inferno 2 or Reaper 2 engines (compact HPA engines with high airflow and adjustable pressure configuration).
- MAXX Model chamber (high-precision hop-up chamber with quick adjustment system, widely used in HPA builds).
This system ensures solid and precise alignment between the Wolverine nozzle and the MAXX Model chamber, eliminating double-feeding issues and improving consistency in high-performance configurations (40+ RPS). The geometry of the kit is optimized to take full advantage of the compact design of both Wolverine engines.
Compatibility
| Component | Compatibility |
|---|---|
| HPA Engine | Wolverine Inferno 2 / Reaper 2 |
| Hop-up Chamber | MAXX Model |
| Base Replica | M4 AEG |
| Gearbox | V2 / ICS SPLIT |
What the kit includes
- Rear clip for mounting via rear pin or fixed stock.
- Base with housing for M3 inserts (optional brass).
- Side clip specifically designed for routing the Wolverine HPA line.
- Front locking top cap for the MAXX Model chamber.
- Rear plate with mounting point for an M5 screw (additional reinforcement).
Installation and adjustment
-
Printing and preparation
- Print the parts with 65–80% infill.
- Lightly sand internal areas for a clean fit without friction.
- Apply dry lubricant or wax on sliding surfaces if frequent maintenance is expected.
-
Installation in the replica
- Insert the base into the lower and secure the M3 inserts.
- Install the rear clip aligned with the rear pin or the stock mounting point.
- Install the MAXX Model chamber with the inner barrel; the top cap locks the entire assembly in position.
- Route the Wolverine HPA line through the side clip designed specifically for its diameter.
-
Final fixation
- Use an M5 screw with washer on the rear plate for maximum rigidity.
- Verify that the Inferno 2 / Reaper 2 nozzle enters perfectly centered into the MAXX Model chamber.
- Perform dry feeding tests and adjust the hop-up according to your BB weight and preferences.
Required components (not included)
- 4× M3 × 4.2 mm inserts
- 4× M3 × 8 SHCS screws
Lower receiver recommendations
It is recommended to use the ICS metal lower receiver for maximum rigidity in high-performance builds.
If you prefer to print your own lower part, the following Gearbox V2 Lower "Universal Lower Part" models are fully compatible:
- Version 3
- Version 4.2
- Version 4.3 MTW
You can find them HERE.
3D printing parameters
- Approximate print time: ~1 h 30 min
- Recommended material: PLA+
- Layer height: 0.10 mm – 0.15 mm
Manuals
Installation and adjustment manuals are available in the Manuals section of the website or on the project’s Discord server.
Recommended products
The most recent models added to the collection