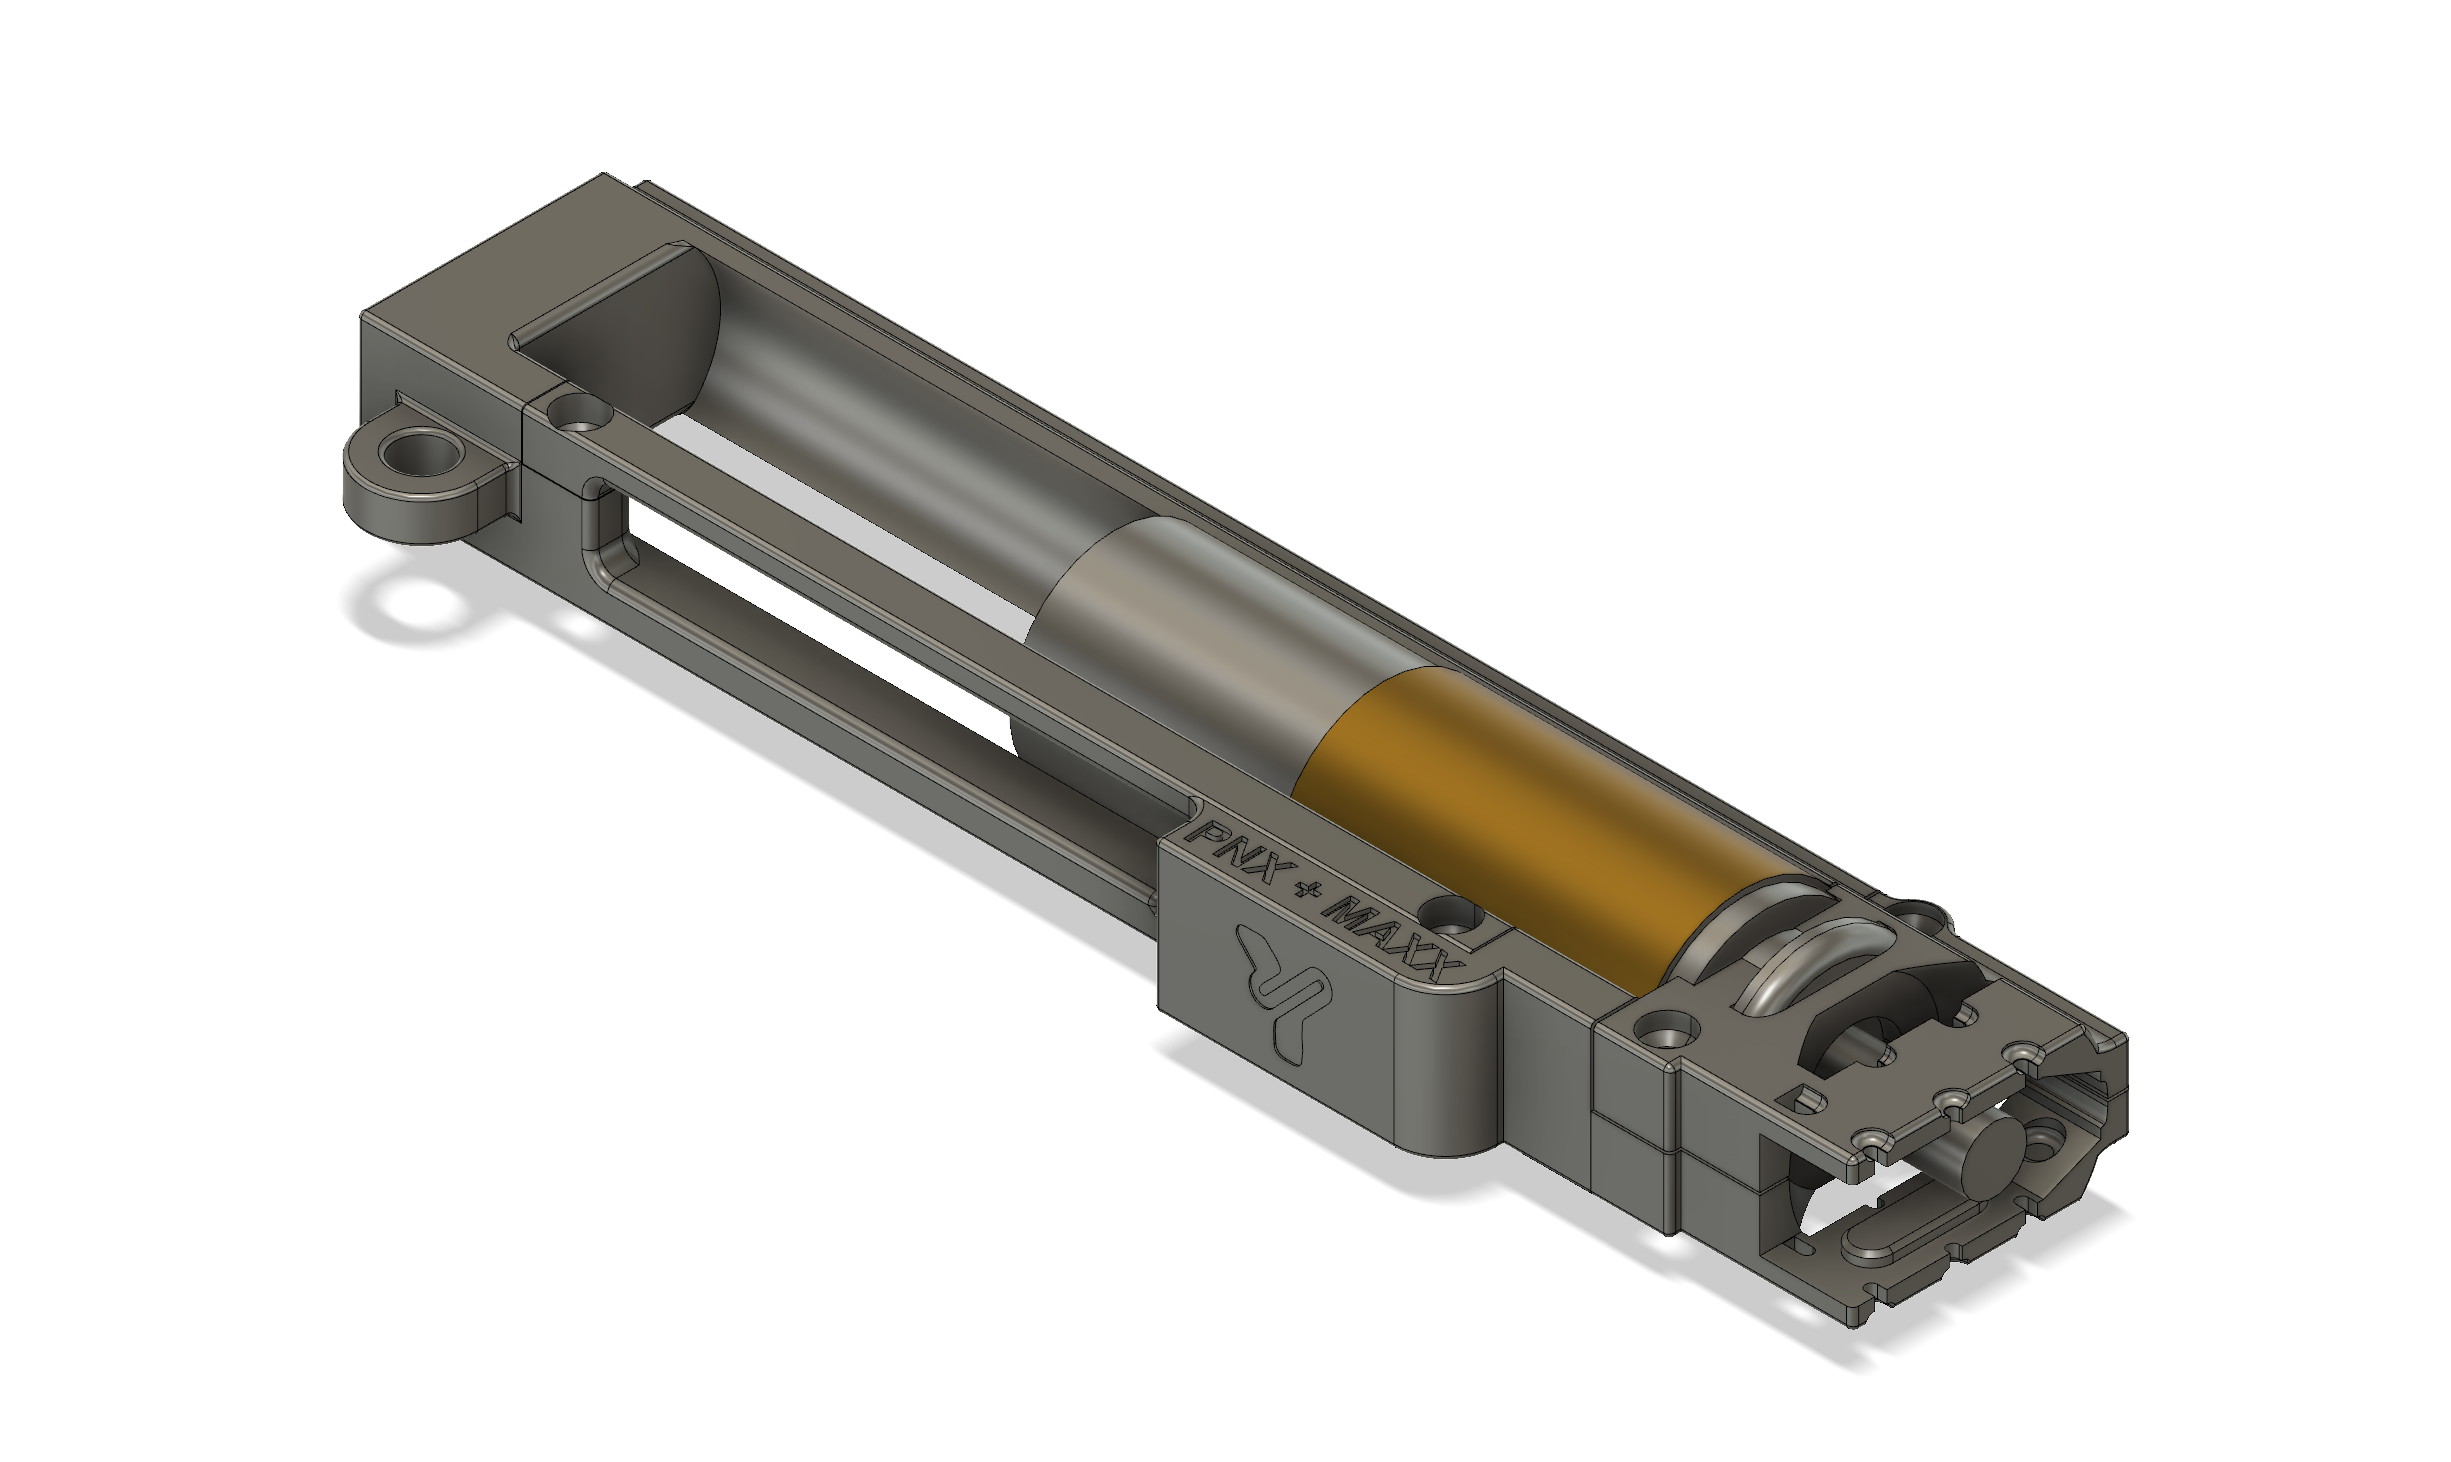
Version 2.5 of the hop-up alignment system, specifically designed for SR25 DMR HPA (Designated Marksman Rifle) replicas using:
- Blackdraft Phoenix engine (compact high-performance HPA engine, ideal for long-travel configurations such as DMR builds).
- MAXX MODEL chamber (CNC hop-up chamber optimized for long-range precision and HPA systems).
This kit ensures perfect alignment between the Phoenix nozzle and the MAXX MODEL chamber in a V2.5 long gearbox, compatible with ICS lowers and DMR configurations that require greater nozzle travel and structural stability. Optimized for precision rifles with long inner barrels.
Compatibility
| Component | Compatibility |
|---|---|
| HPA Engine | Blackdraft Phoenix |
| Hop-up Chamber | MAXX MODEL |
| Base Replica | SR25 DMR |
| Gearbox | Long V2.5 / ICS SPLIT |
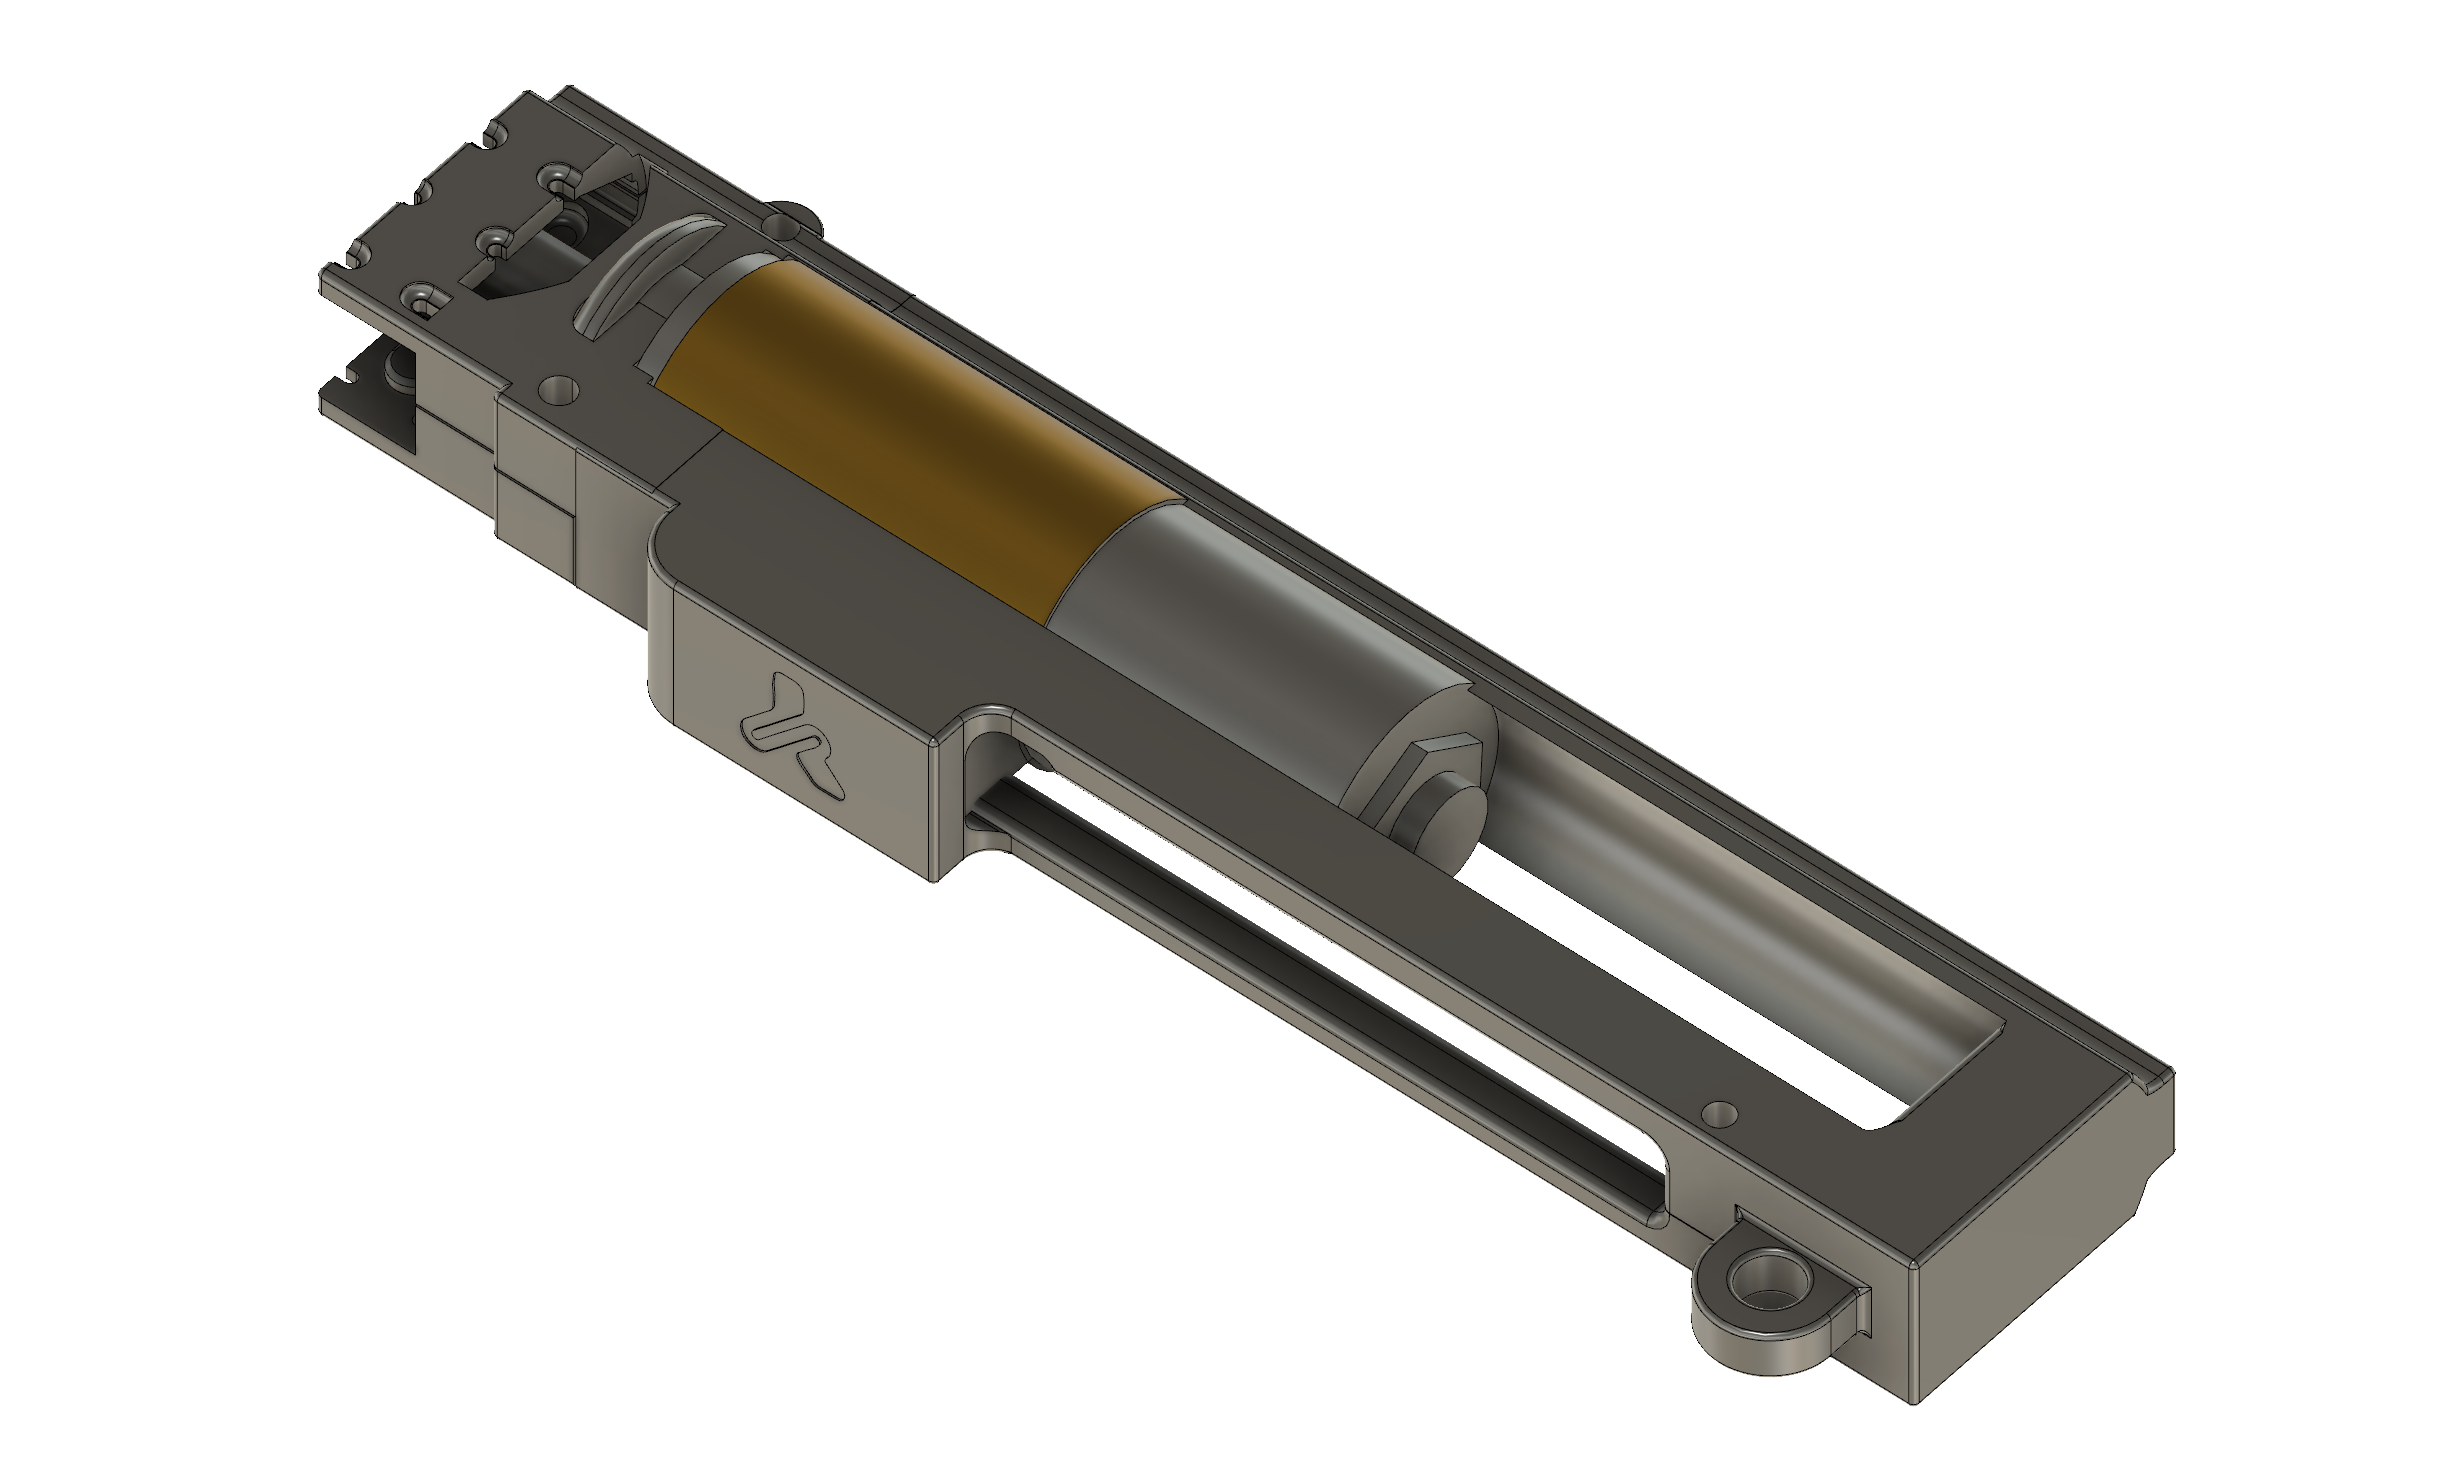
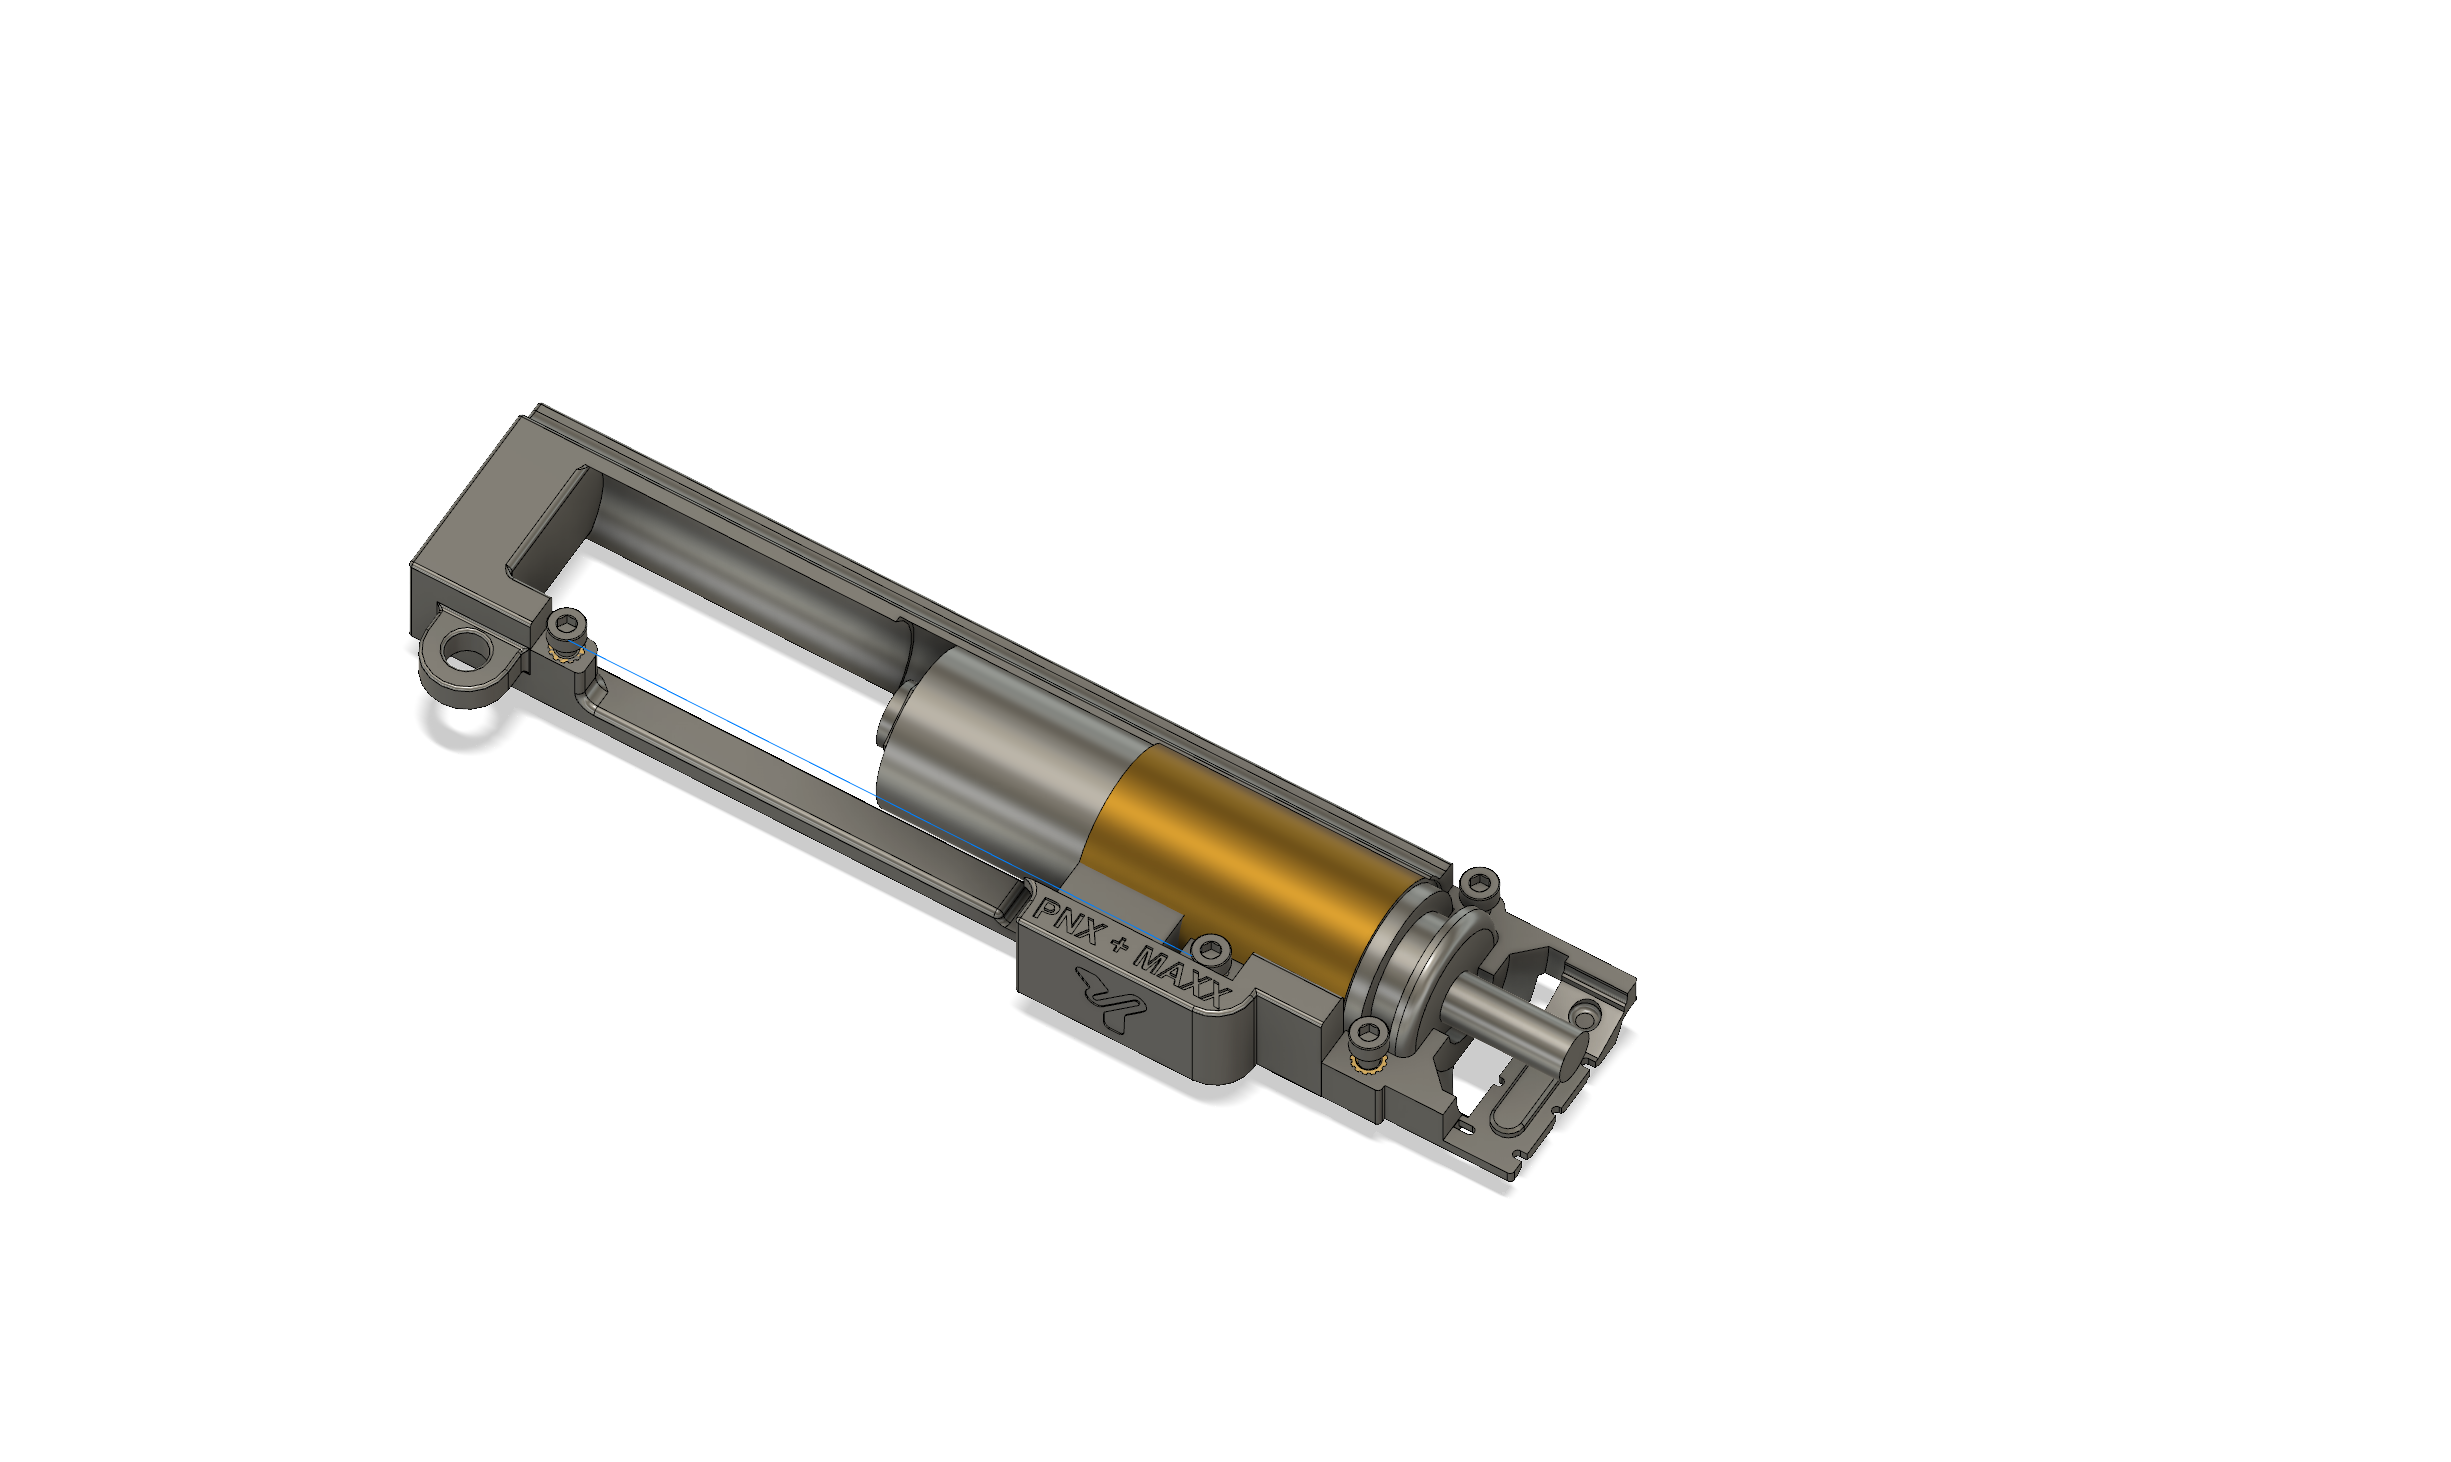
What the kit includes
- Reinforced rear clip for mounting on a V2.5 long gearbox using the rear pin.
- Extended base with housing for M3 inserts (brass recommended for DMR).
- Enlarged side clip for routing the HPA line in long configurations.
- Front locking top cap specifically designed for the MAXX MODEL chamber in SR25 platforms.
- Rear plate with mounting point for an M5 screw (critical reinforcement for DMR).
Installation and adjustment
-
Printing and preparation
- Print the parts with 80–100% infill (DMR builds require greater rigidity).
- Lightly sand all internal and contact areas for a precise fit.
- Apply dry lubricant on sliding surfaces to make maintenance easier in long-term builds.
-
Installation in the replica
- Insert the extended base into the ICS lower and install the brass M3 inserts.
- Place the rear clip aligned with the rear pin of the V2.5 long gearbox.
- Install the MAXX MODEL chamber with a long DMR inner barrel; the top cap locks the assembly while maintaining perfect alignment.
- Route the Phoenix HPA line through the enlarged side clip to avoid rubbing during the long travel.
-
Final fixation
- Secure the rear plate using an M5 screw and large washer for maximum rigidity in DMR builds.
- Verify that the Phoenix nozzle has full travel inside the MAXX chamber without lateral play.
- Set low to medium pressure (60–90 PSI recommended for DMR) and test feeding with heavy BBs (0.32 g+).
Required components (not included)
- 4× M3 × 4.2 mm inserts (brass recommended for DMR)
- 4× M3 × 8 SHCS screws
- 1× M5 × 16 mm screw + washer (for the rear plate)
Lower receiver recommendations
Compatible with original ICS metal lowers for SR25.
If you need to print the lower part, the following Gearbox V2 Lower “Universal Lower Part” models support long V2.5 configurations:
- Version 3
- Version 4.2
- Version 4.3 MTW
You can find them HERE.
3D printing parameters
- Approximate print time: ~2 h (larger parts for V2.5)
- Recommended material: PLA+ or PETG (greater strength for DMR builds)
- Layer height: 0.10 mm – 0.15 mm
- Infill: 80–100% (mandatory for DMR builds)
Manuals
DMR installation and adjustment manuals are available in the Manuals section of the website or on the project’s Discord server.
Recommended products
The most recent models added to the collection